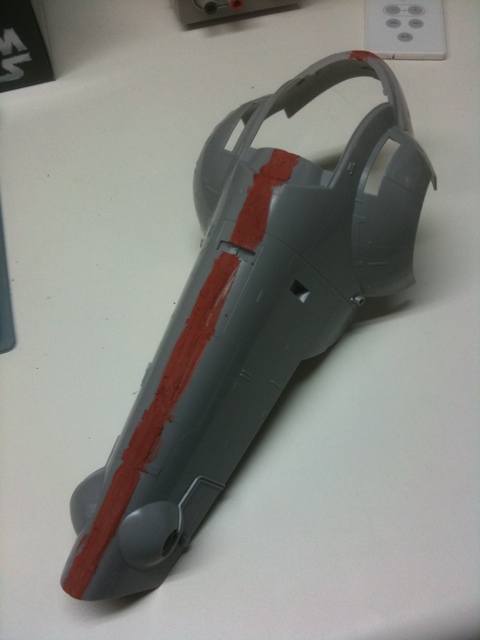
After a small hiatus, I’m back to Slave I. Today, I decide to join the two halves of the fuselage together. I first attempted to do so using the Tamiya Thin Cement, which I’ve been using throughout the build. However, the cement didn’t quite have the hold I needed it to. Nor did it provide me with enough time to get the two halves aligned and joined. Instead, I used some of my old, trusty, Testor’s modeling cement. This stuff is a bit thicker and slower-setting, but it worked perfectly for my application. A great tip I received (after I had already glued the two halves) was to use the back panel of the fuselage as a jig since it will naturally the two halves and hold them together.
After the cement had a chance to cure, I went down the seam with some automotive spot putty, being careful to minimize any excess. After that has sufficiently dried, I’ll need to sand down the seam and restore some of the panel lines and detailing that was covered by the putty, but I’ll have to save that for next time.
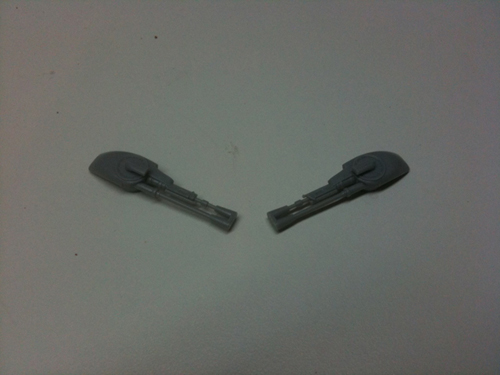
While I was waiting for the fuselage halves to set, I decided to assemble the two lower laser cannons. These went together relatively quickly, as they’re composed of just three, small pieces. They’ll mount to the two hemispheres you see at the bottom of the main fuselage.


