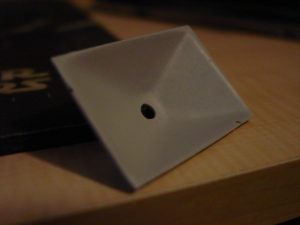
Next I drilled a small hole into the back of the viewscreen bucket to allow for the LED that will backlight the viewscreen to fit through. I used a 1/8″ drill to make the hole, and I quickly test-fit the LED to make sure it easily fit through the hole without shorting the two leads.
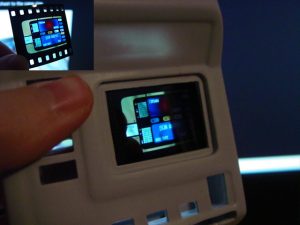
Then I took the slide that will serve as the display screen and cut it to fit in the viewscreen area. Since the piece already fit width-wise, I simply had to trim the top and bottom portions. I did this a little bit at a time to insure I didn’t remove too much material. It between cuts I test-fit the slide behind the viewscreen area since that’s where it’ll be placed during final assembly.
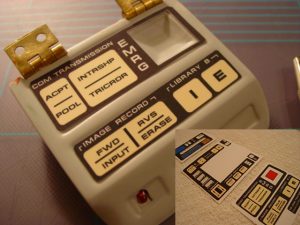
I then started prep work on the graphics. I used a sharp pair of scissors and a sharp hobby knife to cut the graphics apart from the white sheet on which they came. I then test fit each graphic in its respective recess-area on the tricorder body, and carefully trimmed each piece to fit properly. In this picture you can see the lower door’s graphics being test-fitted. Almost looks like a real tricorder doesn’t it?


