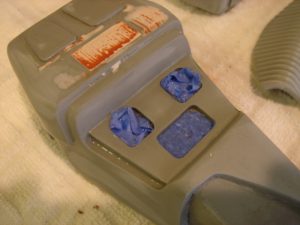
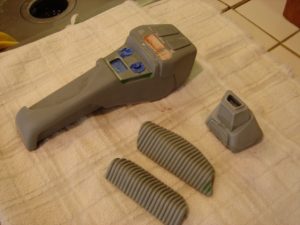
Ok, so now that all the seams, gaps, and holes have been filled in, it’s time to sand. Important note here: Since the body of the phaser has been sealed up, it is very important that you first cover the holes located in the recesses for the buttons. I just used some of Scotch’s blue-masking tape. If you’re building this kit the way it was supposed to be built, you need not worry about this step. However, if you want to built the version I’m building, it is important you cover these holes to keep water from getting into the hollow phaser-body during wet-sanding. You’ll probably never get the water out, and it could have detrimental effects on the access panel and emitter piece that were secured and Bondo-ed over. On my tricorder project I faced a similar problem, and after going through the work of securing, puttying, sanding, and painting, the panel came undone due to the moisture that became trapped in the cavity.
Now it’s time to wet-sand. I usually start with 215 grit sandpaper for the really rough stuff. I then work my way up to 400, then 600, and last 800. Be sure to get in every corner. You may need to use sanding sticks to reach the real tough areas. Also be careful to sand a little lighter around areas you puttied as the putty will sand away much faster than the resin of the phaser.
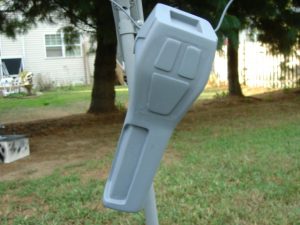
Once you’re satisfied with the sanding, it’s time for the splash coat. The splash coat is a light coat of primer applied to the piece, which makes any imperfections really stand out. This is good practice as a piece can look very nice after sanding, but once you paint it, you see a lot more of the errors. Using the splash coat prevents having to strip paint and redo your work. For this project I am using Krylon brand paint, so I decided to use Krylon’s primer as most paints are formulated to work best with their own brand. I applied a single light coat to each component of the kit. Once the paint was dry, I went back over looking for more gaps, holes, and such. I filled in any leftover imperfections with more putty and repeated the sanding process. After which, I can apply another splash coat. You can keep repeating this process until you are happy with the body work.


