Ab Buttons Painted
July 19, 2016
Ab Buttons Painted
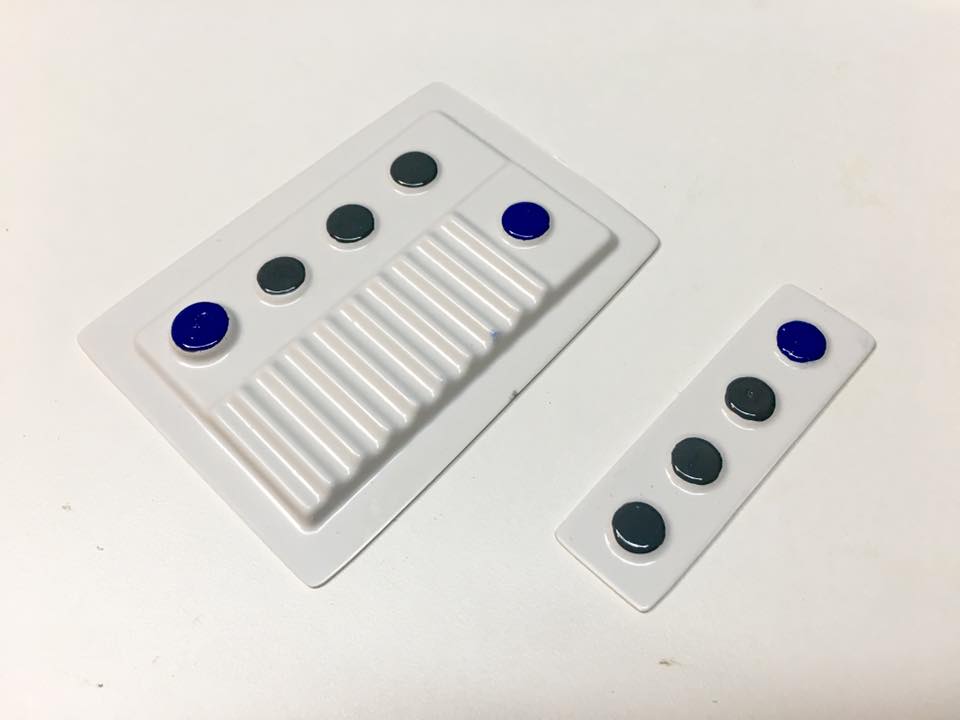
Got the ab buttons on the Stormtrooper kit painted! Roughed them up with some 400 grit sandpaper, applied some automotive primer, and then colored with Humbrol paints using Q-tips.
The First Glue…
January 29, 2017
Cover Strip
After months of procrastinating, it was time to start glueing the pieces of the kit together. I started with the right forearm. I first gave the two halves a test fit using some low-tac masking tape. Since I have a slender build, the forearm was a little too large for me, so I sized it to fit a bit tighter. I overlapped the two pieces until they fit well, and then measured the amount of overlap. I then divided that amount by two, and removed that amount of material from each side of the forearm. Since the cover strip is sized specifically for the width of the front-facing piece of the forearm, I removed the extra material from the back seam.
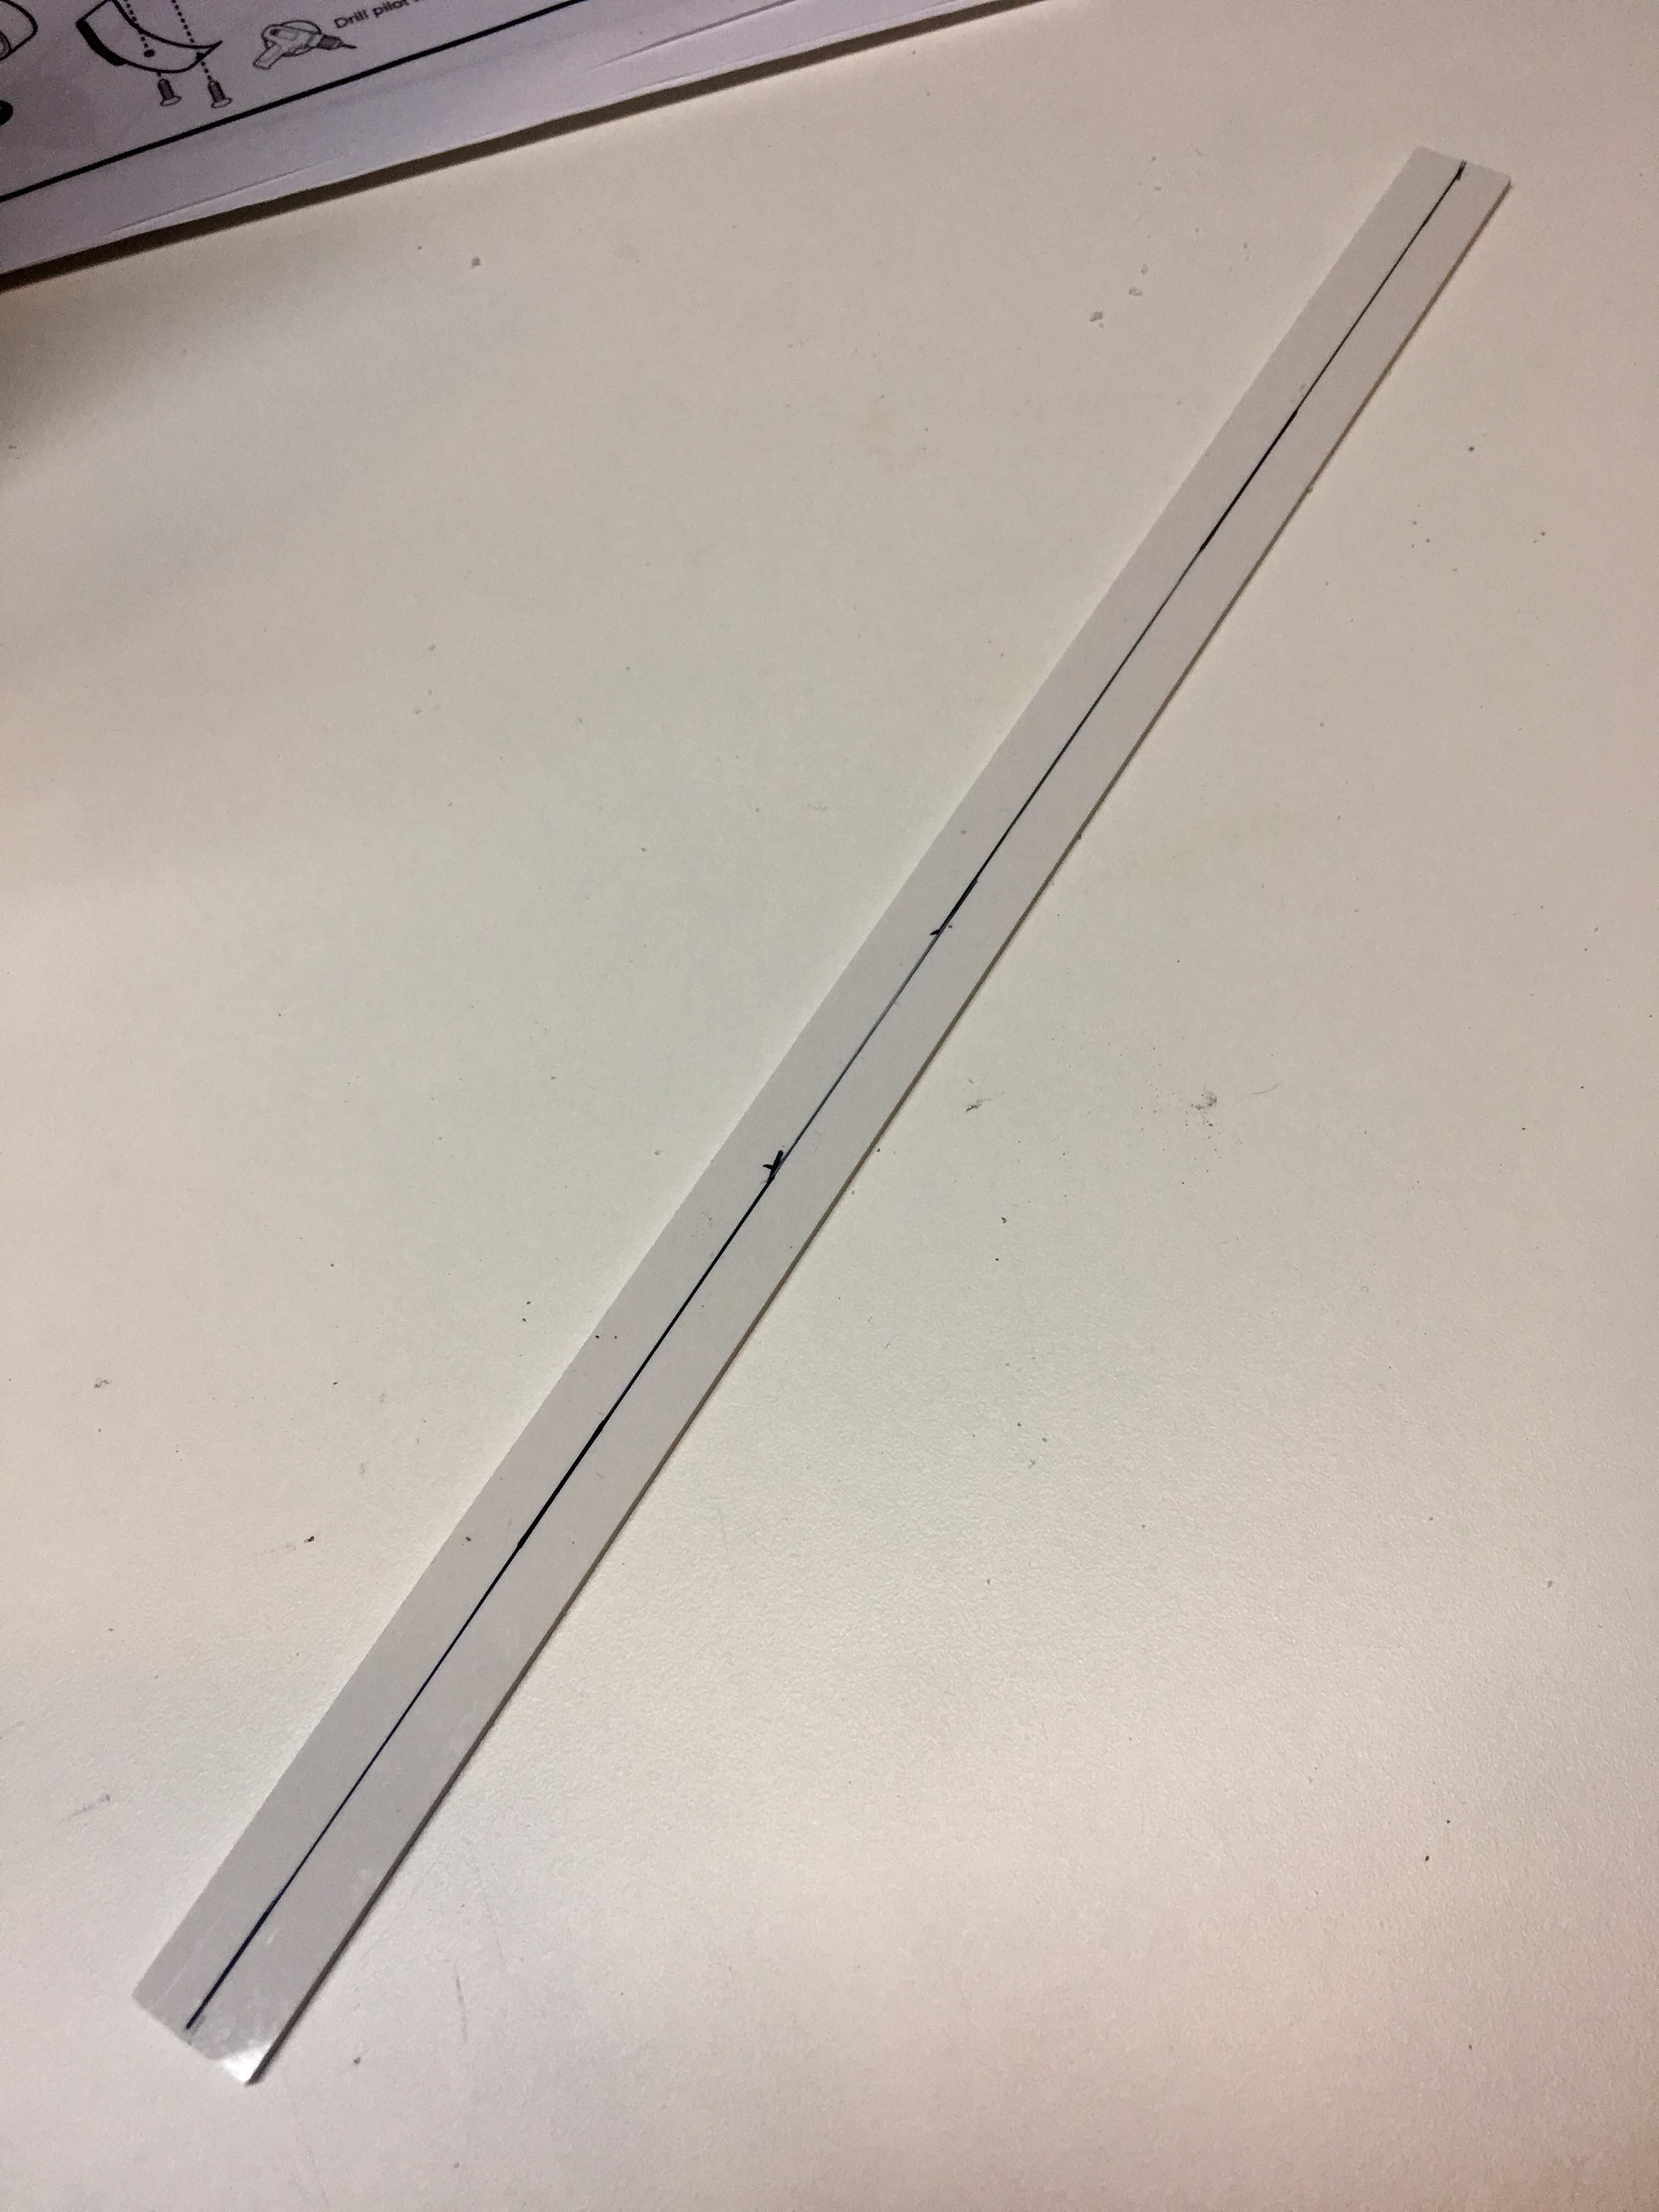
Once the two pieces fit well, it was time to apply the cover strip that will join the two halves together. Since the cover strip runs down the middle of the joint between the two forearm pieces, I measured the midpoint of the cover strip to ensure I applied equal portions to each side.
I then put the cover strip over the joint to measure how long it had to be, and cut it to length with my lexan scissors.

Pealing Back the Plastic
Then it was time to start glueing! Since this is the first armor kit I’ve ever built, I’m taking my time. The general recommendation is to use E6000 adhesive, as it is cures very slowly allowing for some adjustments if needed. It also allows for the cover strip to be removed and redone should a mistake be made.
But before you start glueing, it’s important to remember that the armor and cover strips come covered in a protective coating of thin plastic, which has to be removed prior to applying the adhesive. Here you can see I pulled back just enough of the plastic to expose the edge of the seam, but I left the rest of the piece covered to protect it while I continue working.
Glueing the First Cover Strip
Once the plastic was pealed back, I scuffed up the edge of the seam with some sandpaper to help the adhesive adhere to the material. I then applied a thin bead of E6000 along the edge.
I then aligned the cover strip with the wrist-end of the forearm, and secured it in place with a clamp. This allowed me to align the midpoint of the cover strip that I had previous marked.
Next, I slowly worked my way down the length of the cover strip, securing it in place with clamps and magnets.
E6000 is great for this application since it gives you plenty of time to move things around and make adjustments before it begins to set. The downside is it takes approximately 24 hours to completely cure, so you’re waiting a bit once you get things in place.
Completing the Joint
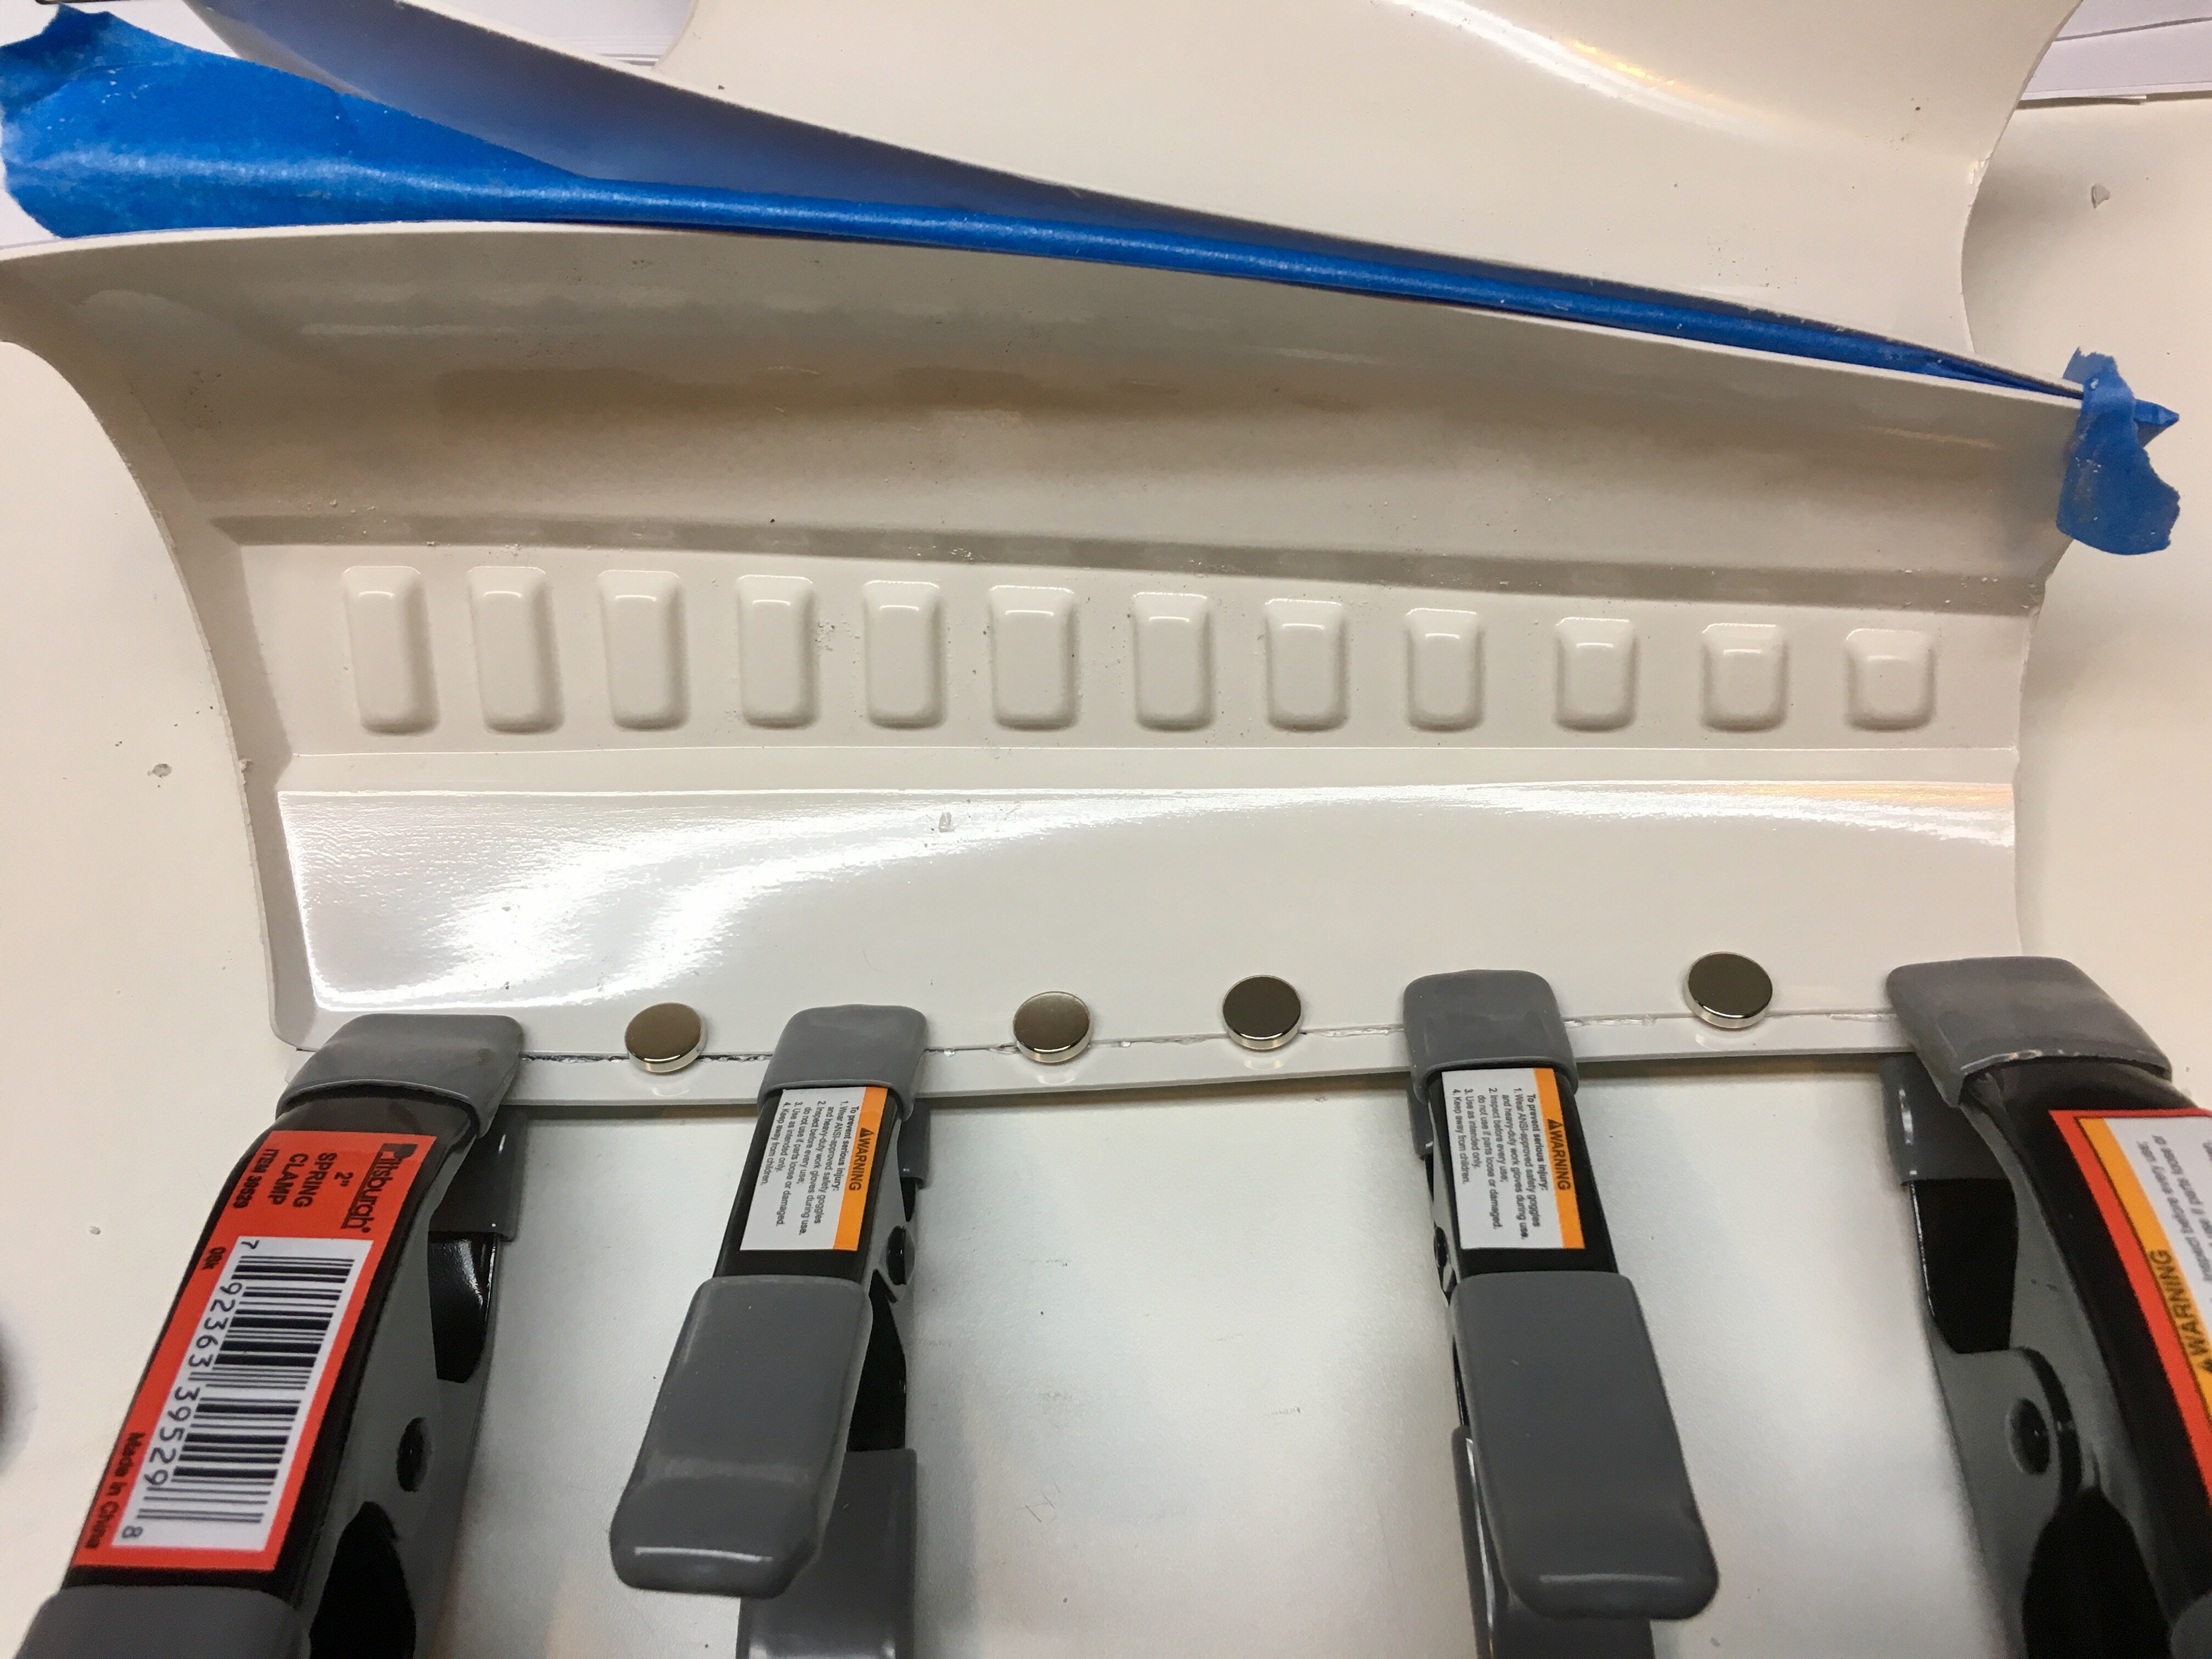
After waiting 24 hours for the first half of the seam to dry, I tackled the second half. This side was a bit trickier since you can’t use clamps in the middle. Instead, I used some magnets I picked up at Home Depot to hold the center section together.
Next up will be the rear seam.
Completing the Forearm
February 26, 2017
After the front of the forearm had a chance to cure, it was time to move to the back. Attaching the rear cover strip is very similar to the front. I measured the longest half of the joint and cut the cover strip to length. Again, with this being my first armor build, I am going very slowly, so I attached one half of the cover strip at a time.
Glueing the Rear Cover Strip
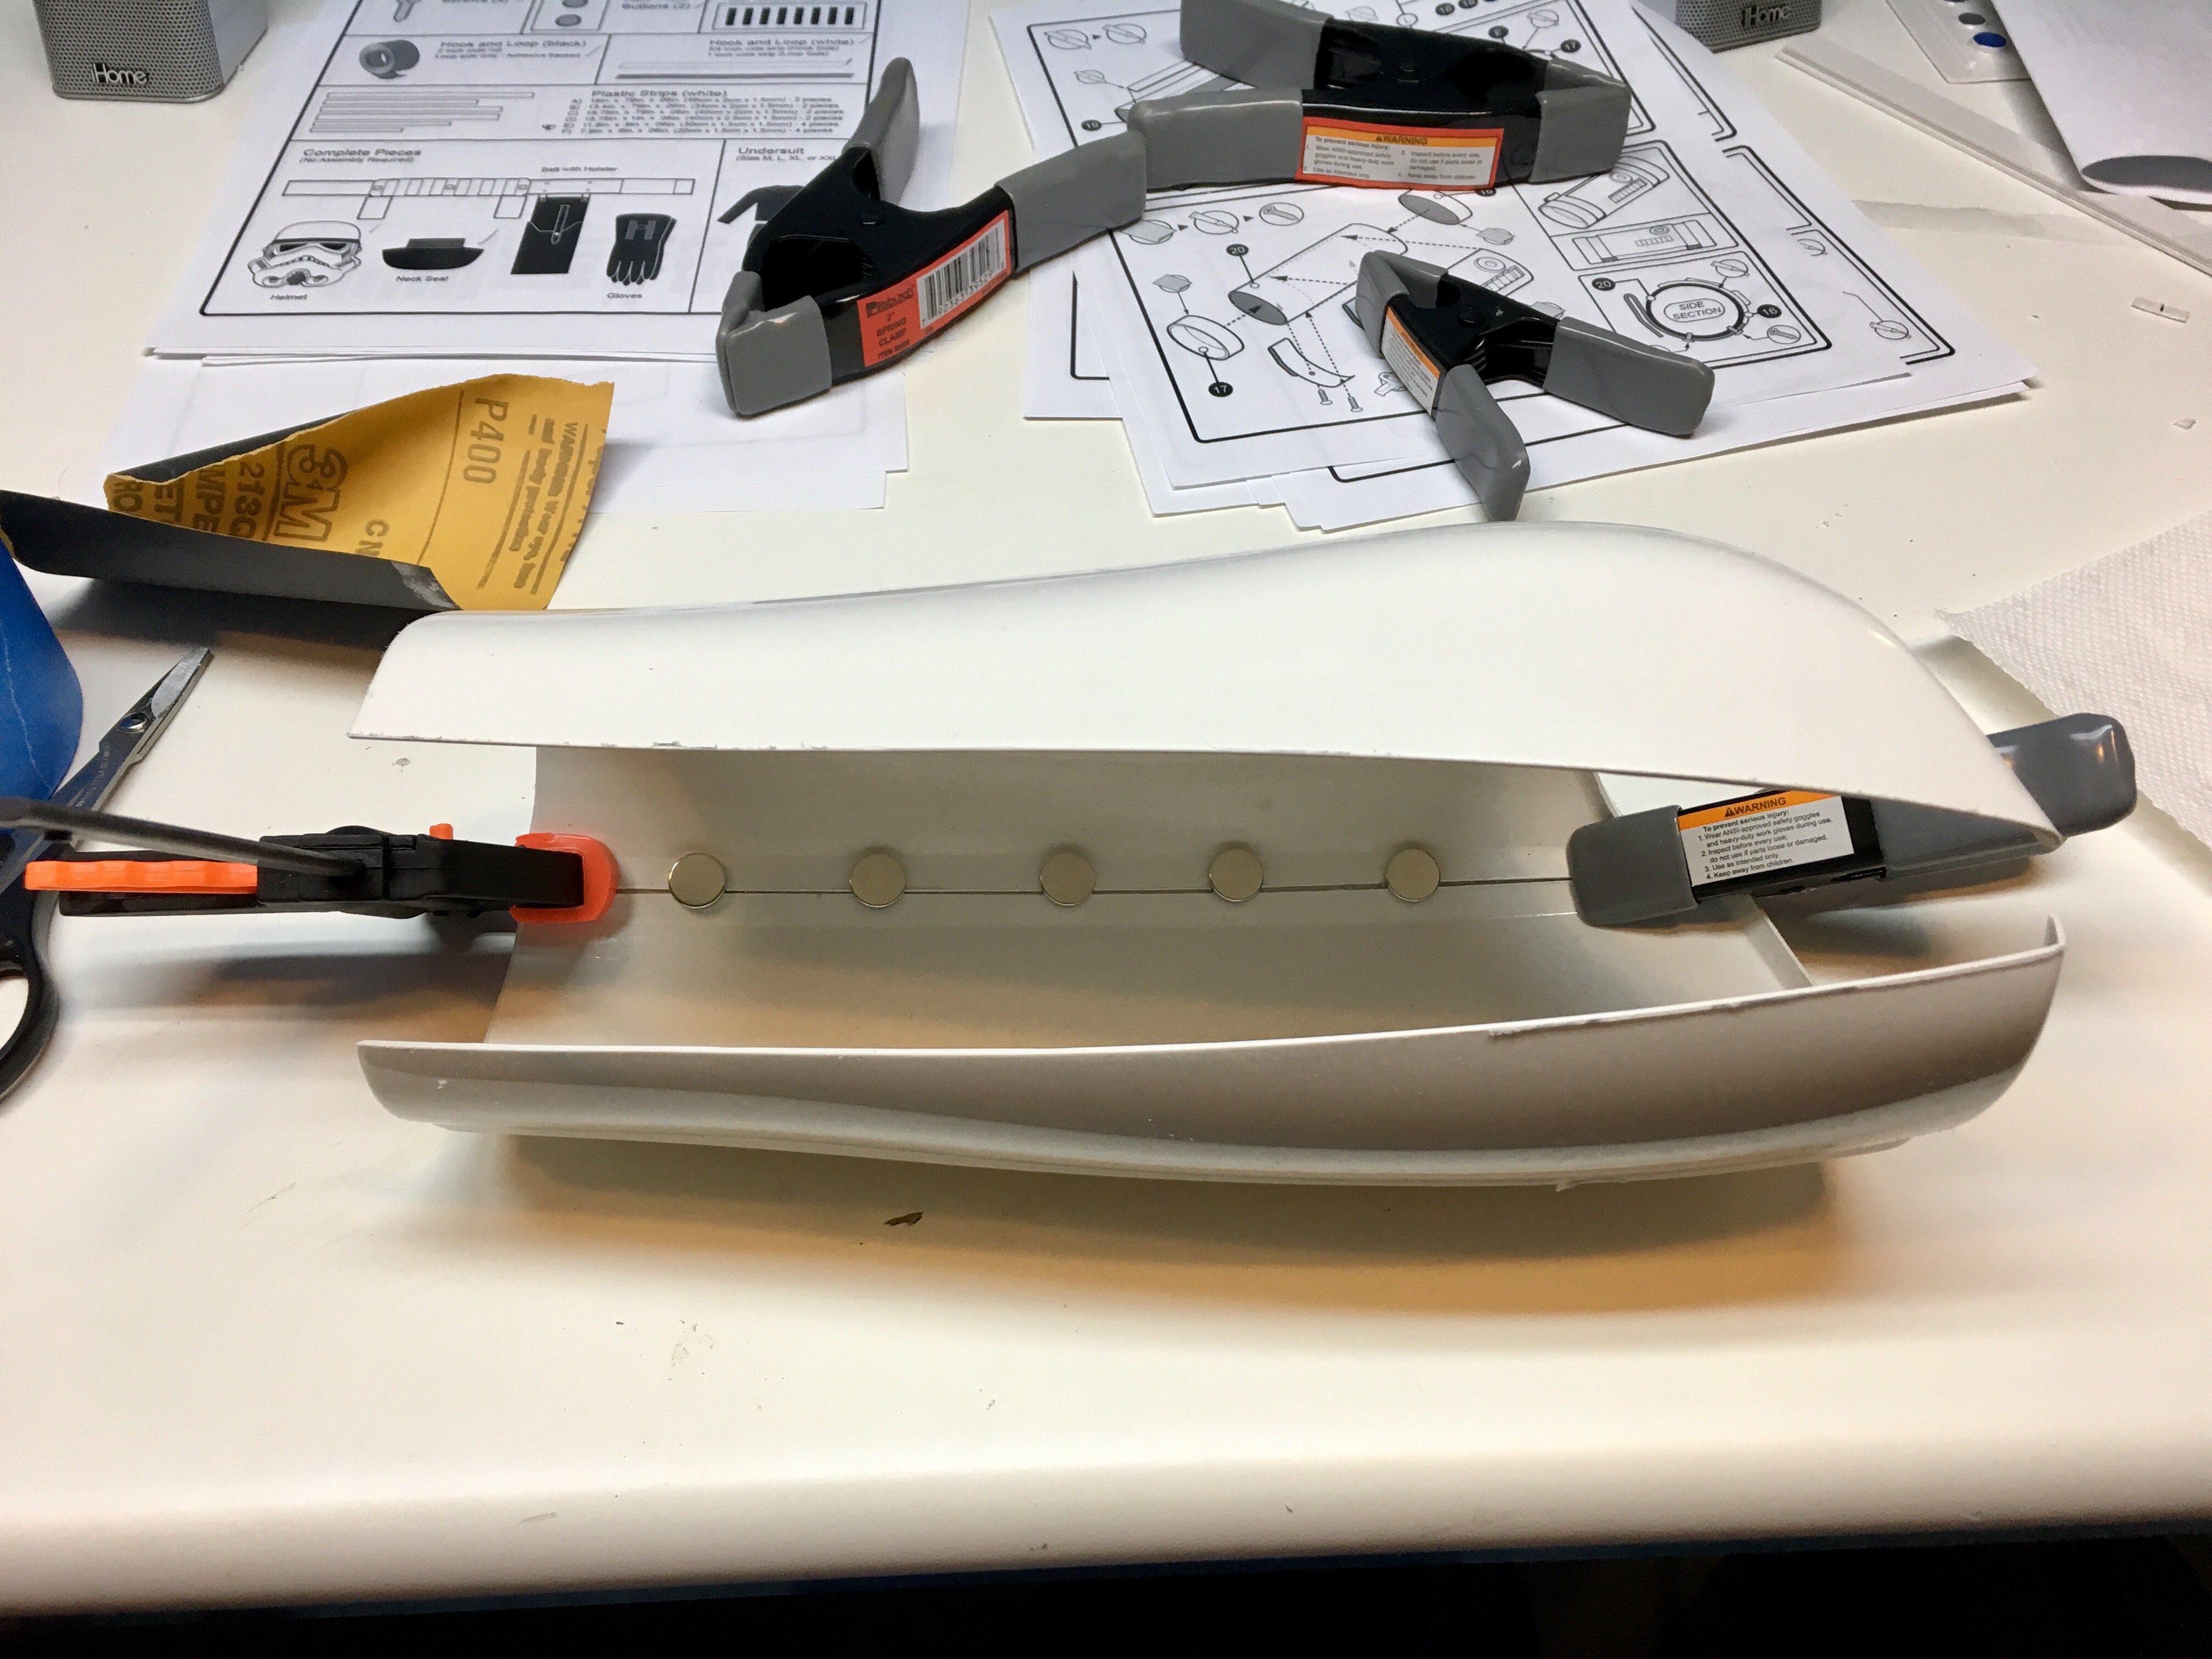
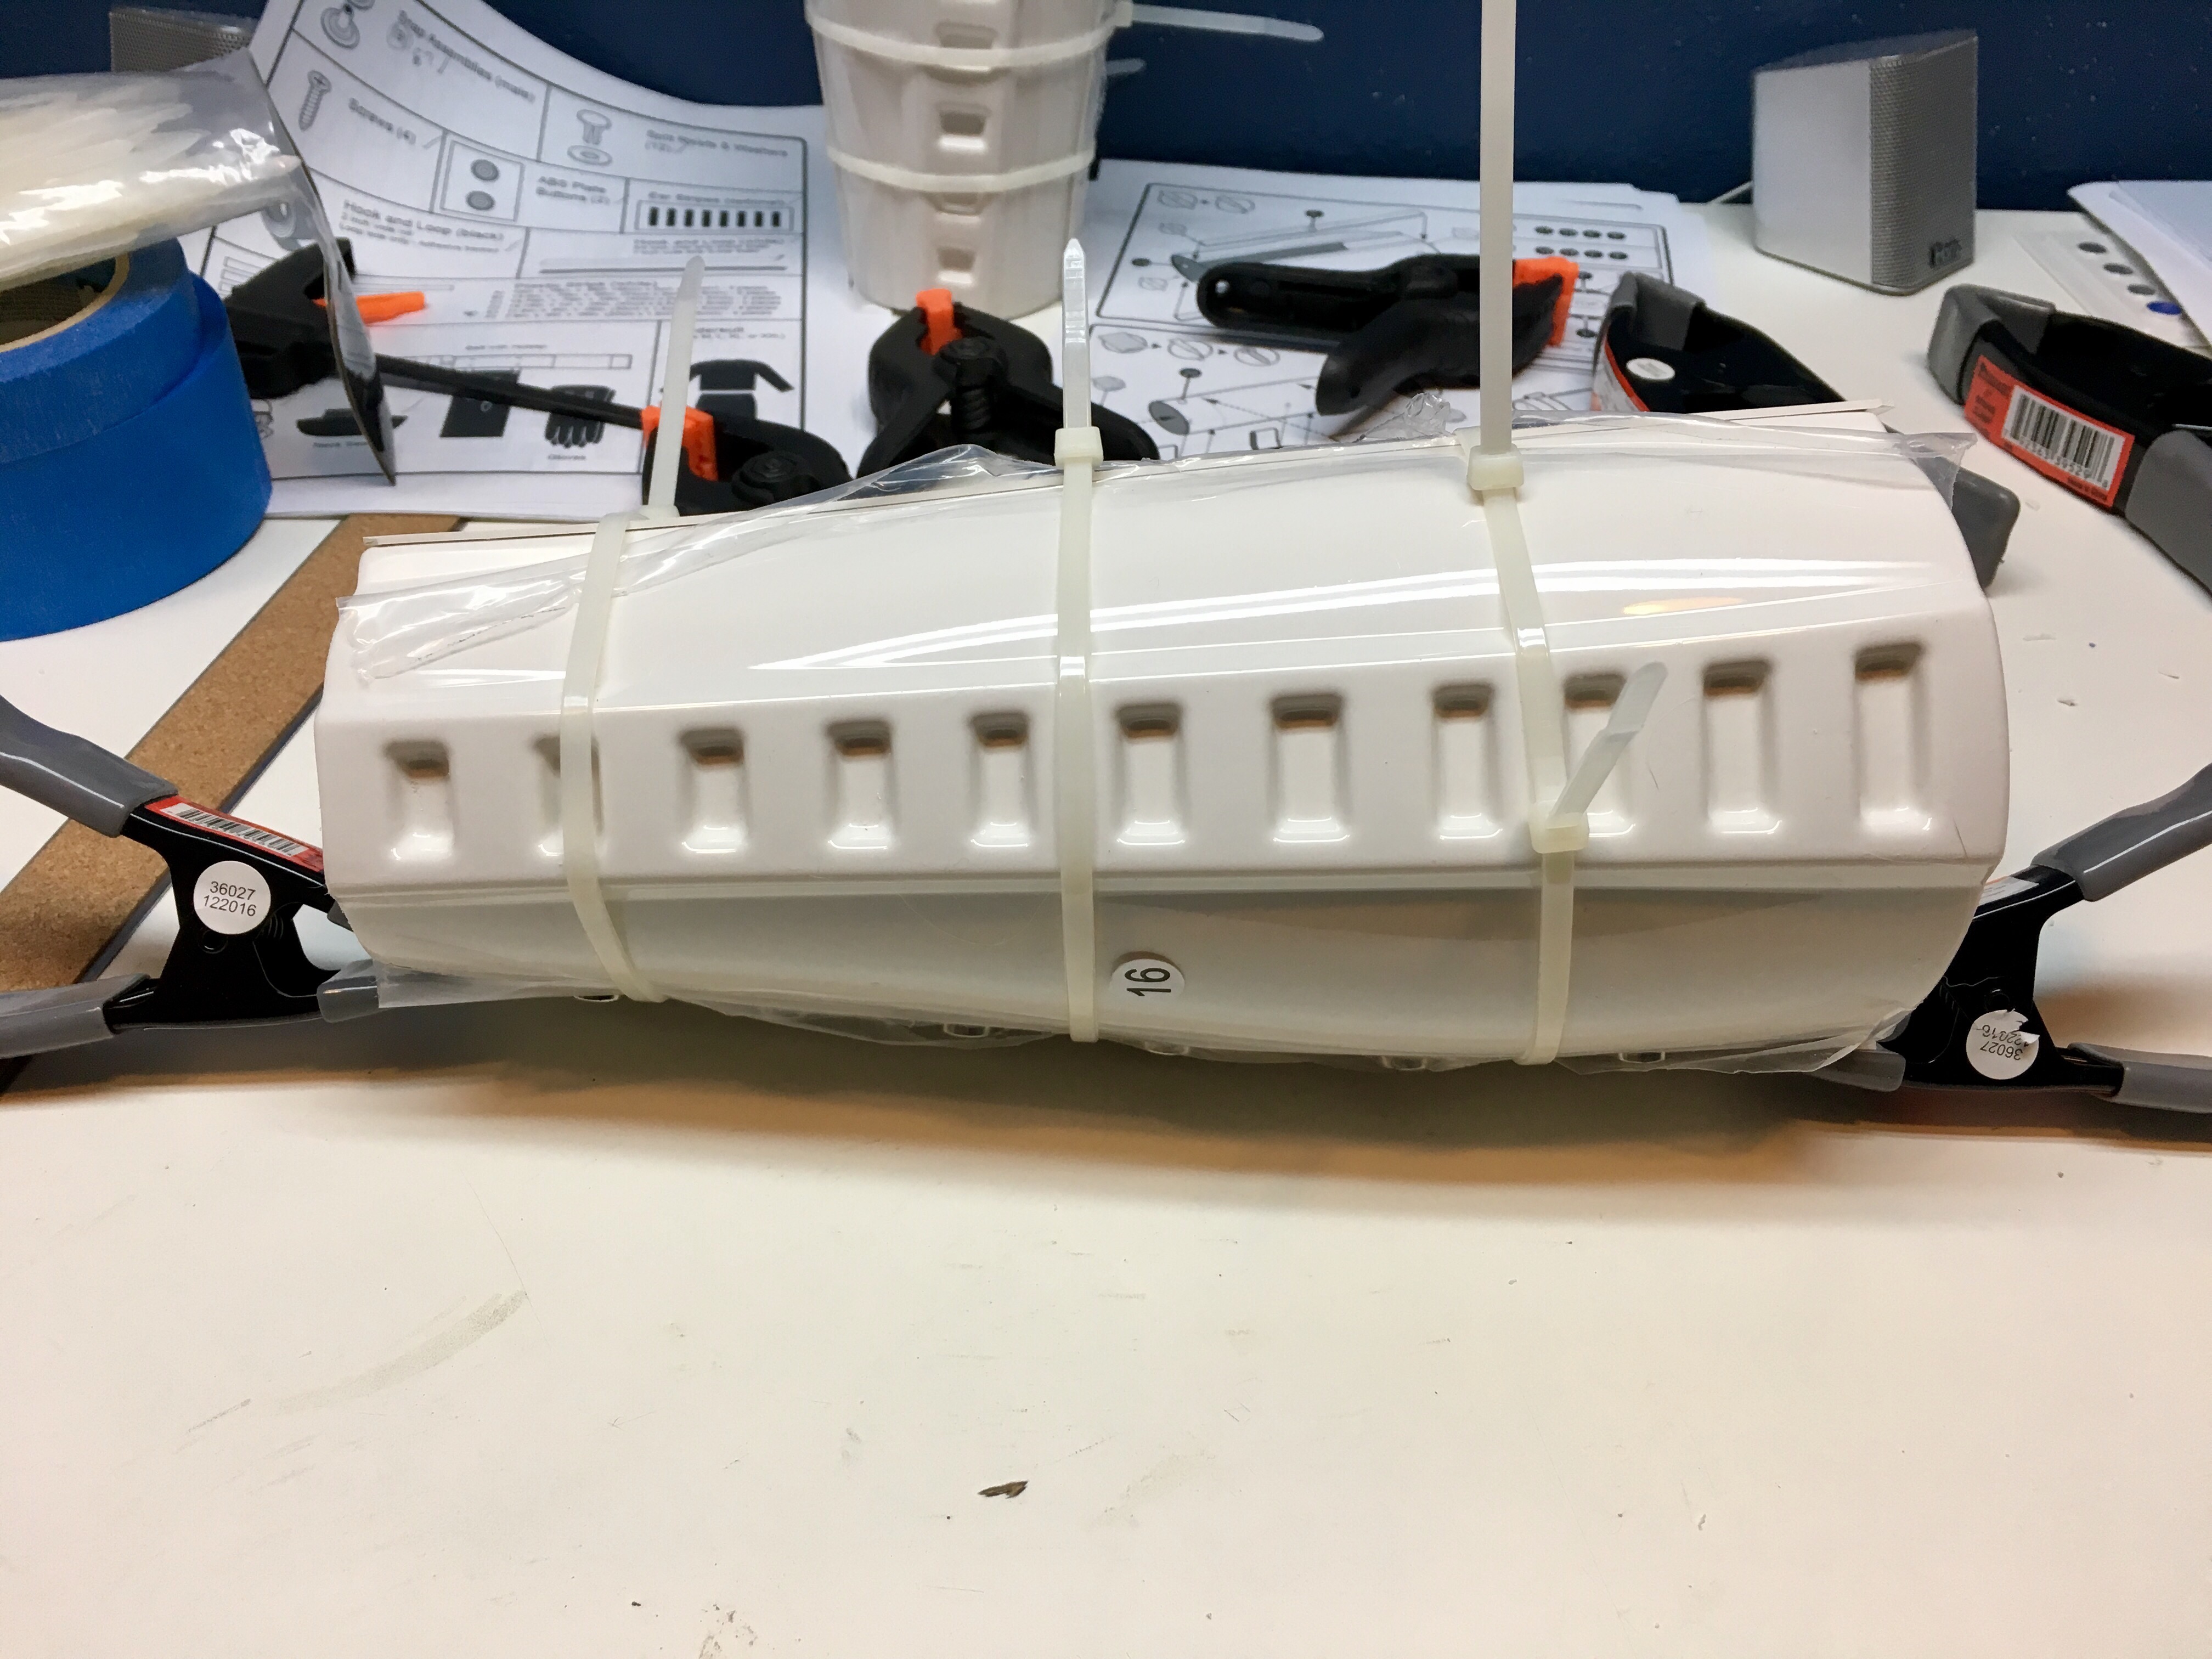
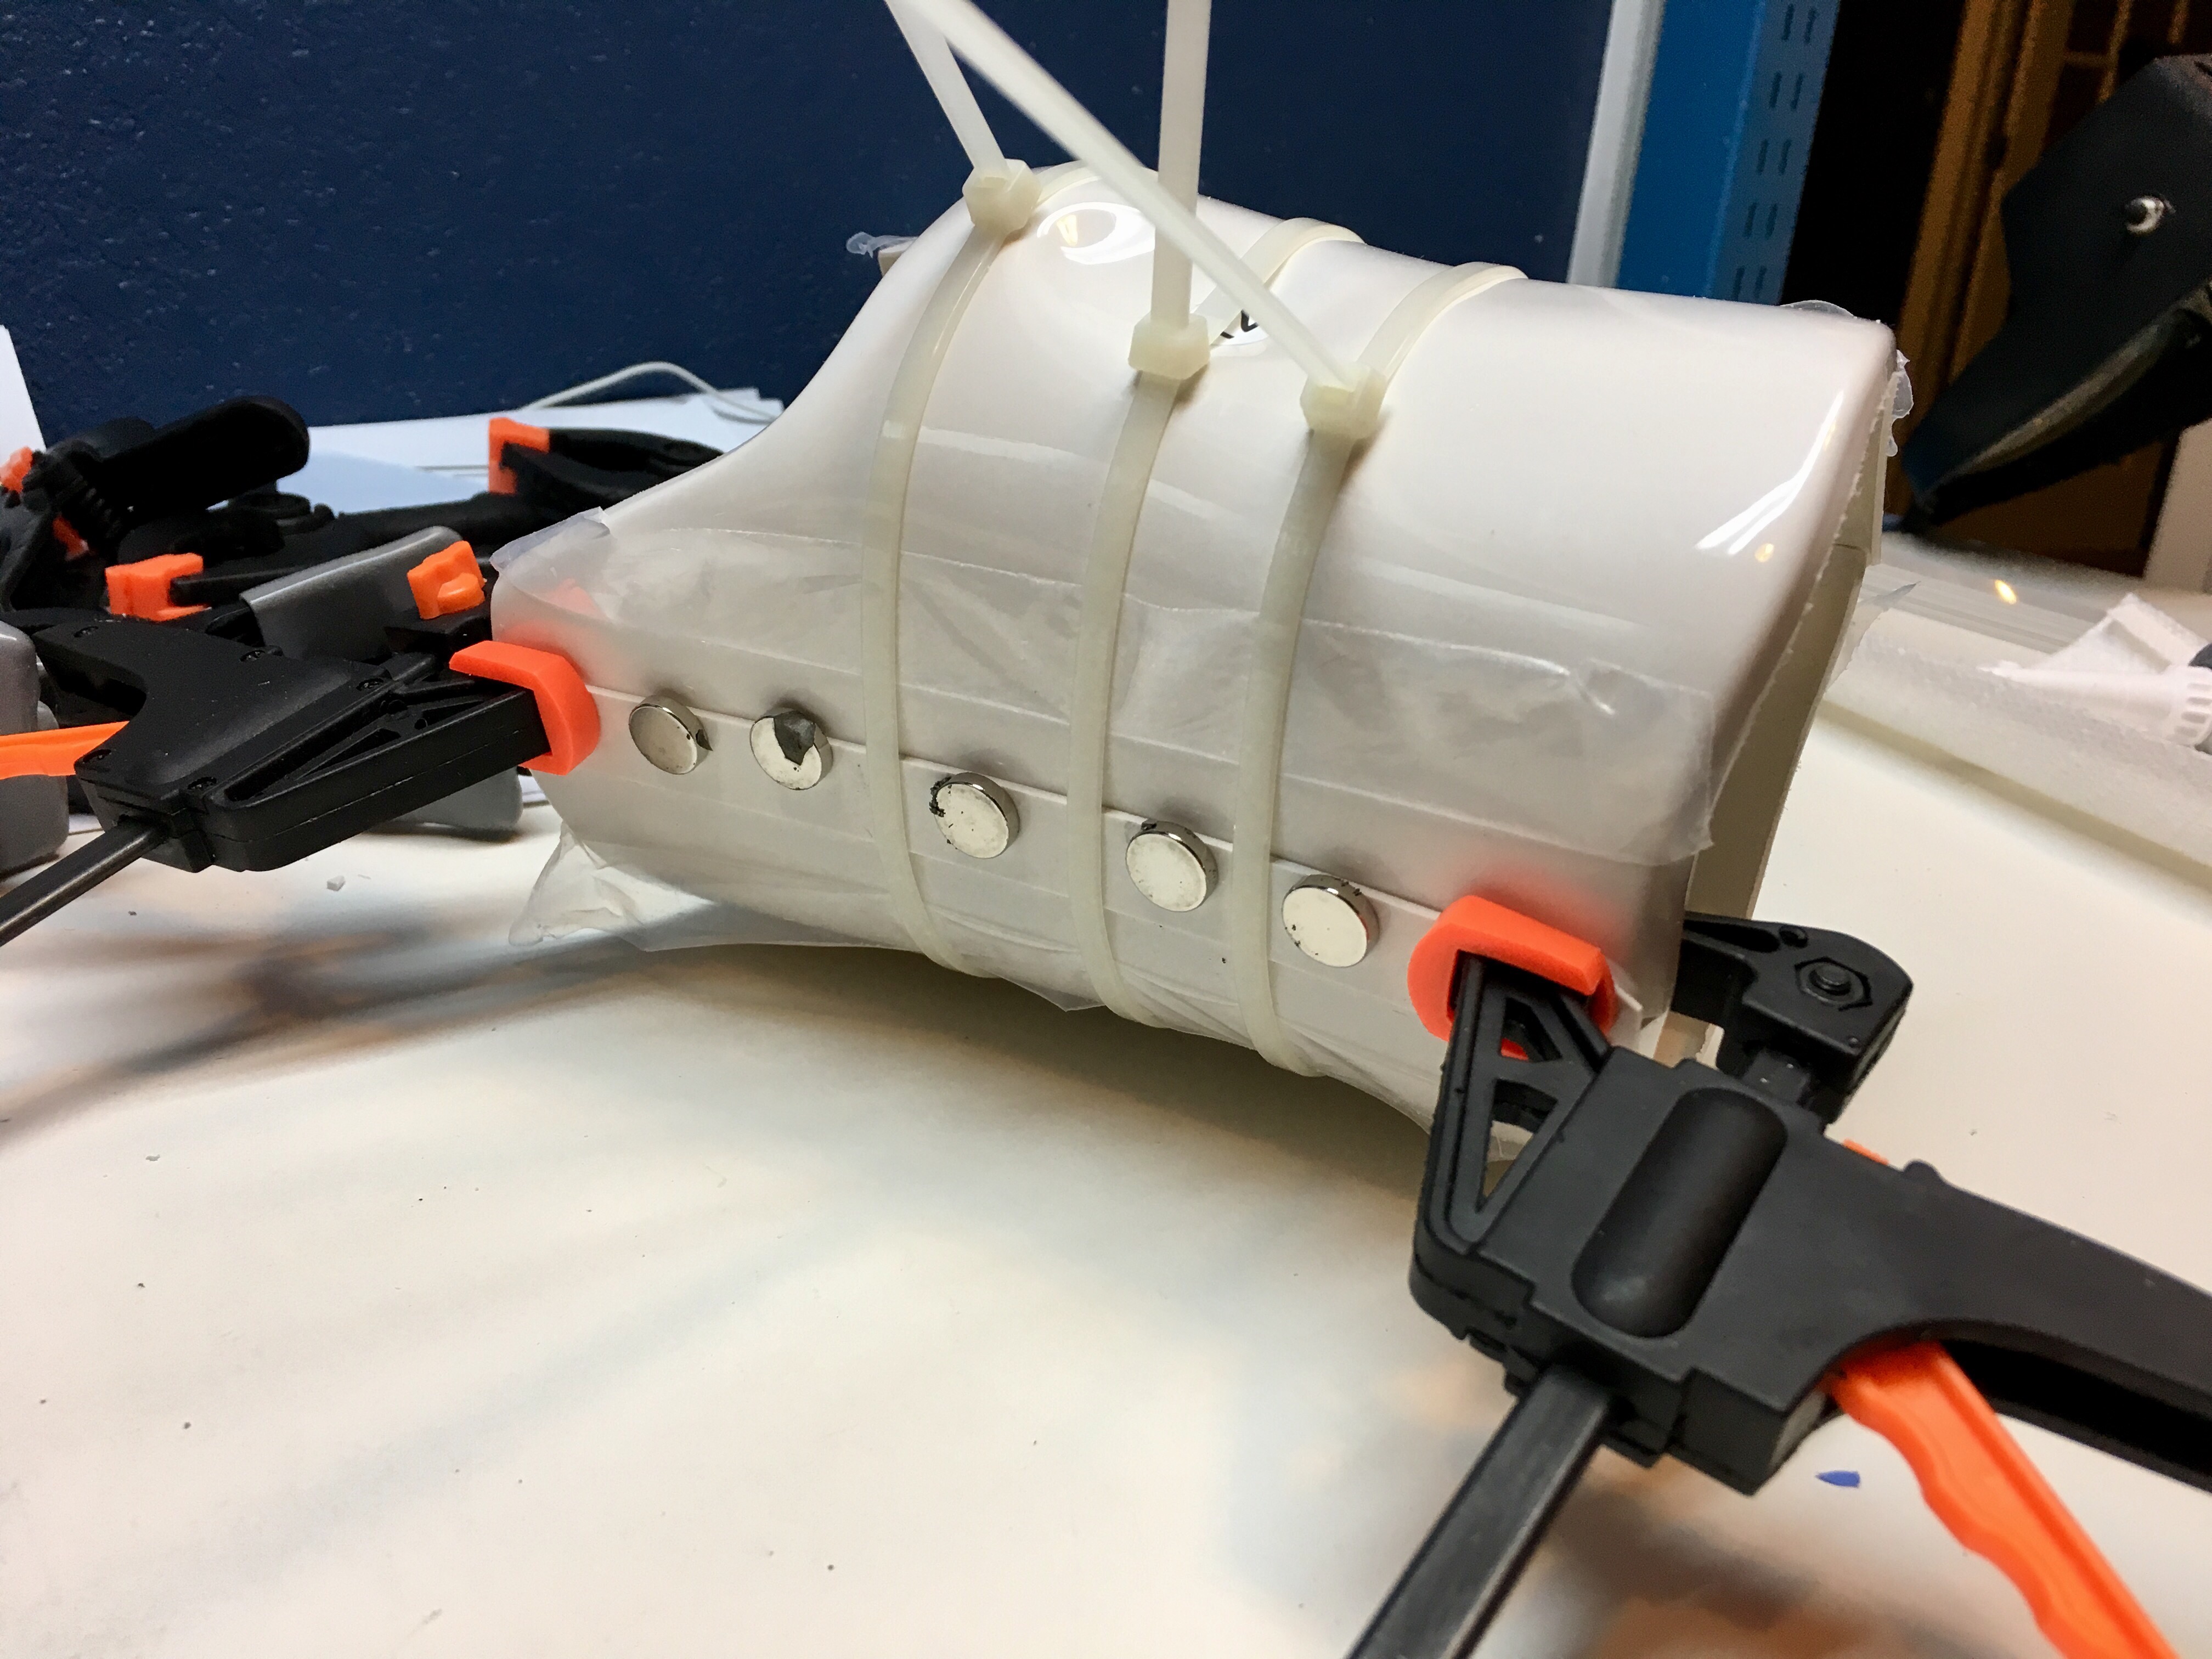
After the first half of the rear cover strip was dry, I moved on to attaching the second half to complete the joint. Similar to the front of the forearm, I used clamps to secure each end of the strip and magnets down the center to hold everything in place. Since the two halves of the forearm are asymmetrical, they didn’t quite line up as nicely as I would have liked. To help secure them together while the E6000 adhesive cures, I wrapped the forearm in some plastic zip ties. And that was it! Both joints of the right forearm were done!
Completing the Rear Seam
The Anovos instructions call for exterior cover strips only. But since I plan on wearing this costume to various events, I wanted to give the suit some extra reinforcement. For that reason, I decided to install support strips on the interior of all the seams.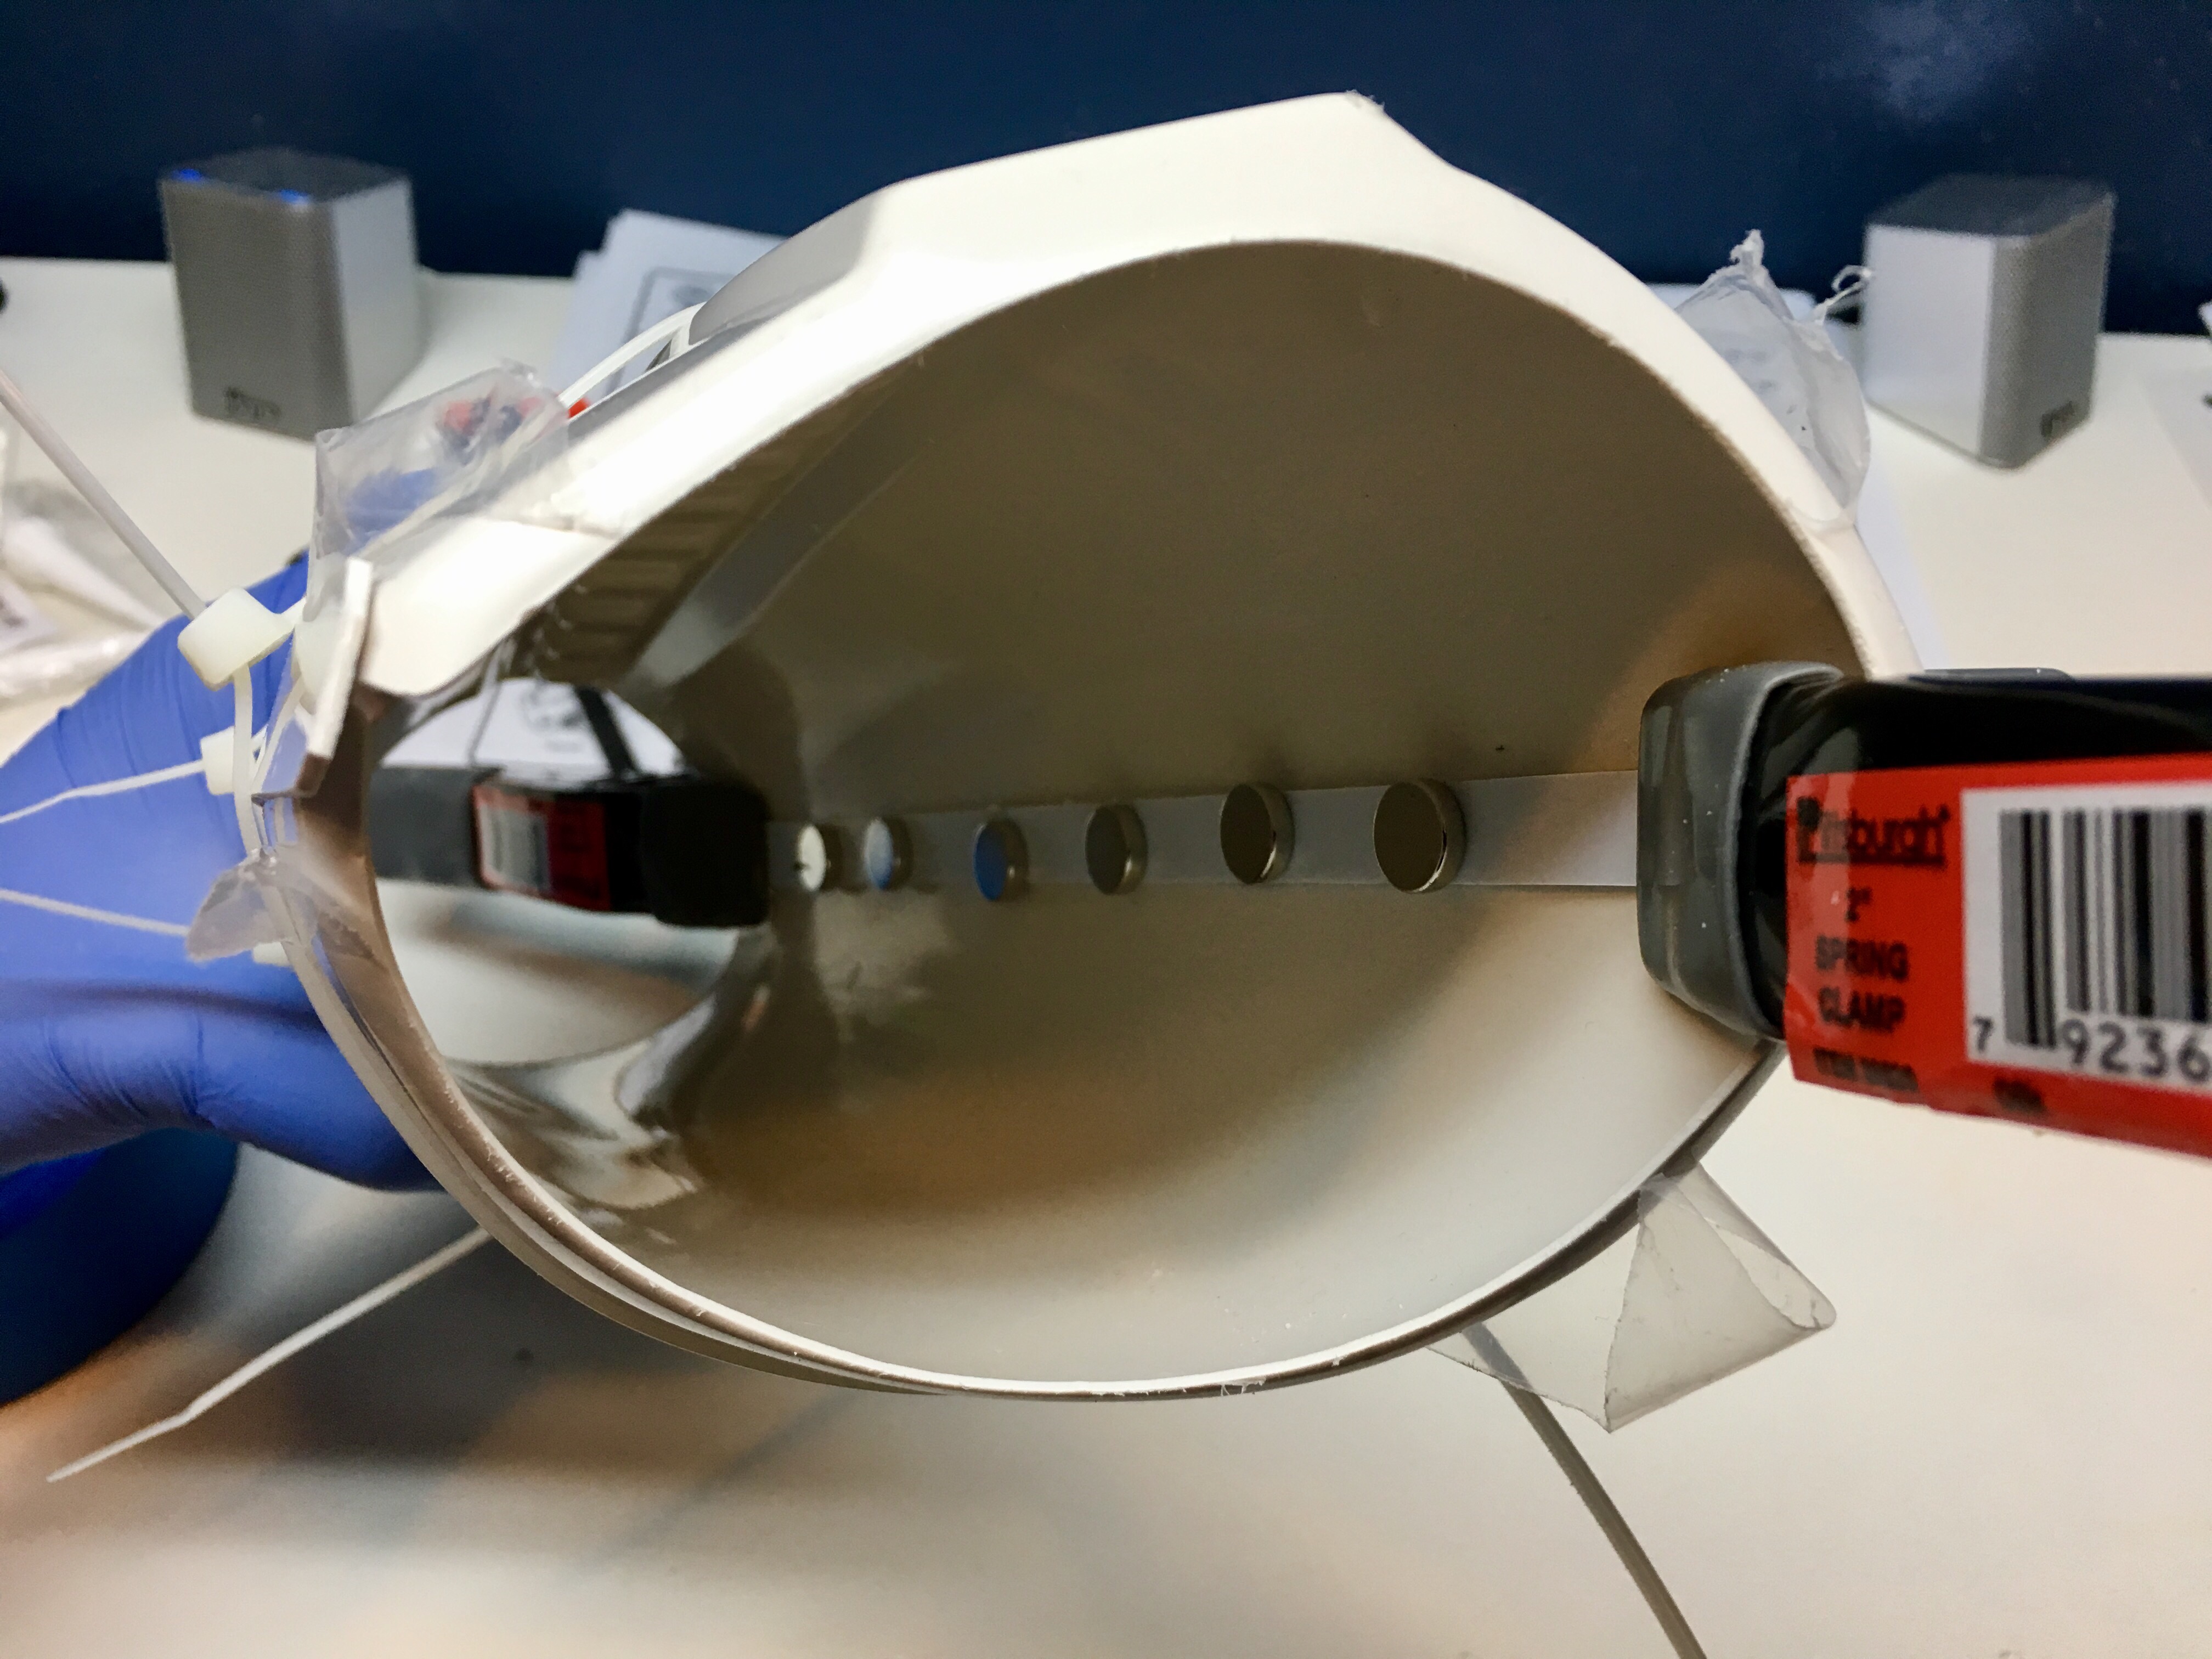
Interior Support Strips
To do this, I purchased some white ABS sheets off of eBay. I then measured the interior length of the joint as it will be slightly shorter than the exterior cover strip. I made the interior support strip about the same width as the exterior strip to ensure they bridge both sides of the seam. I then secured it in place with some E6000, clamps, and magnets.
With the right forearm now done, I’ll be moving on to the left side. And since I won’t be needing the right forearm until later, I left the zip ties on and set the piece aside to give the E6000 some additional time to cure.
Glue! Glue! Glue!
April 22, 2017
Left Forearm
The assembly process for the rest of the pieces is very similar to that of the forearm. I sized the front-facing joint edge to match the width of the cover strip. I would hold the pieces in place using some blue painter’s tape, and then remove material from the back joint so that the piece fit me appropriately. Once the edges were trimmed, I would give them a quick sanding to smooth them out, and then attach the cover strips one side at a time.
Using this approach, I was able to quickly move through the left forearm…

Right Bicep
Right bicep…
Left Bicep
And left bicep…
While not pictured, I also added internal support strips to each joint, similar to what I did with the right forearm.