More and More Trimming

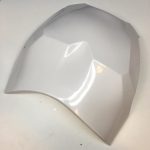
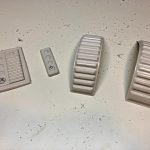
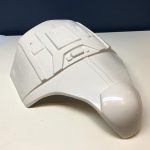
Got a few more pieces of the Stormtrooper kit trimmed up today including the chest piece… Hand guards… When trimming the hand guards, I tried the score-and-snap method called out in the instructions, but it wasn’t working for me, so I went back to my Dremel. I also trimmed the shoulder bells. I used my belt sander to remove the unevenness…


Read more

Trimming Continues

Trimming on the Stormtrooper continues… Today I was able to cut out the two ab button plates along with the two shoulder straps. I continue to use the 3-step process as before, so a coarse cut with the Dremel, then a fine pass with the Dremel, followed by sanding down the edges. Given all the pieces in the kit,…


Read more

Let the Trimming Begin!

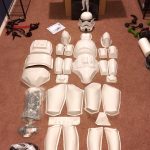
Today, I took inventory of the entire kit to ensure everything on the list was included in the box. Looks like everything is there! I also got the first piece trimmed up! The first pass was with my Dremel cutting wheel. Second pass was with my sanding wheel. Third pass was with a fine sanding block. Final pass was…


Read more

Unpacking

I unpacked the BBB (Big Brown Box), and I have to admit, it’s a little overwhelming to see the scale and numerous pieces included in the kit. But learning new things is all part of the fun. Plus, I thought it was nice that the helmet comes finished so you can immediately put that on.


Read more

Workshop – Done!

When Jamie and I were house hunting, one of the things I kept an eye out for was a spot I could set up my workshop and a prop/model display area. Luckily, our new house came with a spare bedroom in the basement complete with a walk-in closet. After the holidays were over, I focused my attention to painting…


Read more

First Base Coat!

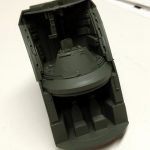
Cockpit Base Coat

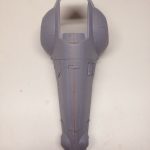
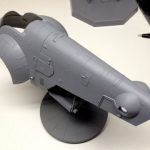
So I’m back to working on Slave I. I applied another coat of putty to the main fuselage seam, and, after some additional wet-sanding, I’m fairly happy with the results. Next up, I’ll have to restore the panel lines I removed during all the sanding, and I’ll also need to put back some of the panel details I removed….


Read more

More Sanding and Painting

After much debate, I came to the conclusion the only way I would effectively remove the visibility of the main seam between the two fuselage halves was to attack it with some heavy duty sanding. Initially, I tried avoiding this approach as I knew it would remove much of the details around the seam including the panel lines and…


Read more

More Greeblies

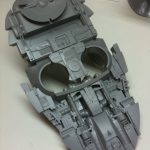
Having some extra time on my hands, I decided to get some work done on Slave I. I managed to finish the undercarriage, which consisted of adding a handful of small, detailing pieces. While I used the Tamiya thin cement to attach the majority of the pieces, I reinforced them through the mounting holes on the backside with some…


Read more