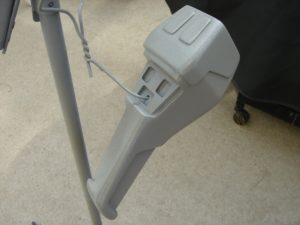
The main body took a bit more body work to get the setting indicator and back panel blended in to where I was happy with it. After that, (as with the other components) I sprayed the main body with three coats of Krylon’s gray primer. Following that, the body got a wet-sanding with 1000 grit paper. Then it was time of three coats of Krylon’s Stone-Gray Gloss (#1605). Similar to my mark vii tricorder kit, I then applied a mist of Krylon’s Dull Aluminum (#1403). I tried to maintain a similar level of coverage as I did on my tricorder since I am planning on display the two pieces as a set.
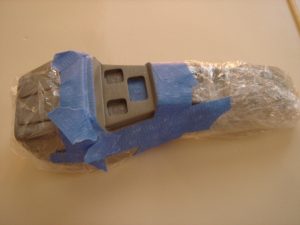
Since the control panel area needs to be painted black, I used some static wrap and Scotch’s blue masking tape to mask it off. I then gave it three coats of America’s Finest gloss black paint as I did with the emitter and grip sections.
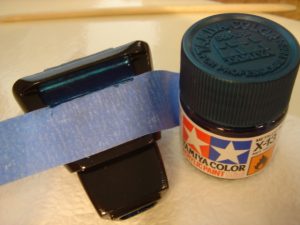
The emitter piece has some extra detailing to add. According to the manual, the small recessed area on the underside of the emitter, as well as the inside of the emitter nozzle itself, gets painted a metallic blue. The manual recommends Tamiya brand paint (#X-13), so that’s what I used. The Tamiya paint is nice because it is acrylic, so any mistake can be undone with some water.
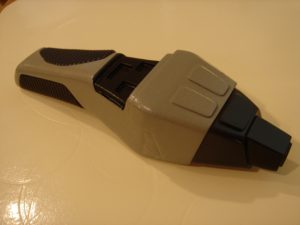
Once the blue paint had dried, it was time to put all the pieces together. Before I did this, I used some rough grit (about 220) sandpaper to scuff the areas for the grips and emitter. This well help the adhesive adhere better. I then mixed up some 5-minute epoxy and secured the two grip sections in place with some clamps. The emitter section was a pretty tight fit, so the combination of that with the epoxy should hold fine. As you can see, it’s almost done. All that’s left are the buttons.


