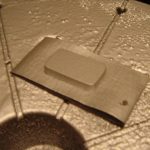
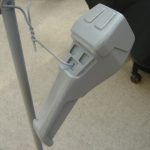
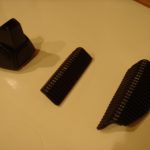
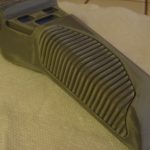
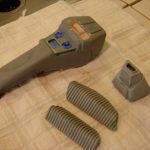
Clear Coat and Done!

Last step was to get a clear coat on this puppy. I normally try to use the same clear coat as undercoat, but I was out of Krylon clear, and I didn’t have the energy to run to the store. I decided to go with Duplicolor’s clear coat. Duplicolor is an automotive-brand paint. The clear coat work out very…

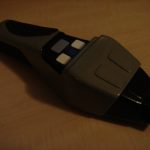
Read more

Finishing the Buttons

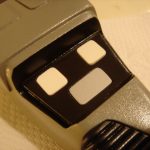
Well I found some paint for the buttons. Rodd.com’s instructions call for antique white or beige…neither of which I could locate in my area. So I went with Krylon’s Dover White (#2322). It’s an off-white color that captured, what I felt, was the same effect as an antique white. I gave the buttons three coats of Dover White and…


Read more

Fabricating the Buttons

One of the last things to do is to fabricate some buttons for the control pad. The Rodd.com kit comes with a small piece of styrene along with a template to make the buttons. However, I bought this particular kit from a reseller, and the styrene and template were missing. I purchased some 0.125″ thick styrene plastic (as noted…


Read more

Priming the Main Body

The main body took a bit more body work to get the setting indicator and back panel blended in to where I was happy with it. After that, (as with the other components) I sprayed the main body with three coats of Krylon’s gray primer. Following that, the body got a wet-sanding with 1000 grit paper. Then it was…


Read more

Painting the Accent Pieces

Since I was happy with the condition of the emitter and grip sections, I decided to move onto painting them. After the primer dried, I used 1000 grit sandpaper to wet-sand the components. Once they had sufficient time to dry, it was time for the paint. Rodd.com’s instruction call for a gloss black paint. I prefer Krylon, but being…


Read more

Reshaping the Grips

After the primary body work was complete, I gave the two grip sections a test fit. I noticed the upperleft grip did not sit flush against the phaser, so I dunked it in some hot water for a few seconds to soften it up. I then removed it with a towel and held it firmly on the phaser so…


Read more

Sanding

Ok, so now that all the seams, gaps, and holes have been filled in, it’s time to sand. Important note here: Since the body of the phaser has been sealed up, it is very important that you first cover the holes located in the recesses for the buttons. I just used some of Scotch’s blue-masking tape. If you’re building…


Read more

More Body Work

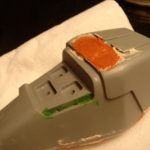
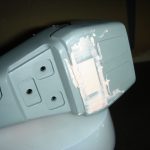
I then used an automotive spot putty and Squadron’s Green Putty to fill in the rest of the gaps throughout the kit. The auto-spot putty is used for larger holes and gaps, while the green putty is designed for smaller holes. The main areas that needed work were around the indicator and the lower access panel. All the Rodd.com…


Read more