Looking Forward to a New Year!

It’s hard to believe 2010 has come and gone, but nevertheless, here we are, and it’s 2011. Many of us make resolutions for the new year, and I’m no exception. So here are a few things I’m planning on doing in 2011: 1. Get into shape! I’ve been exercising fairly regularly over the last two years, and I’ve made…

Read more

Project Canceled

As you can probably tell by my lack of progress with this project, I’ve been struggling to find both the time and motivation to finish it. Lucky for me, I found a fairly good solution. Mattel Toys has teamed together with MattyCollector.com to release a replica of the PKE meter! This piece was part of an exclusive release through…


Read more

Getting Ready for Some Buttons

So my next step was to prep the front panel for the buttons that will control the servos. There are actually two sets of buttons – one on the lower portion of the front panel, and another on the top of the handle. To make controlling the servos easier, I decided to make the ones on the handle functional,…


Read more

Dry-Fitting Some Parts

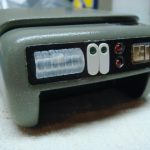
After almost a year-long hiatus from my workbench, I’m getting back to building my prop kits. I’m resuming the PKE meter I started last year. I got back to work by dry-fitting some of the greeblies for the top panel, including the slider switch which will be used to change the sequencing mode of the display LEDs, and the…


Read more

More Body Work

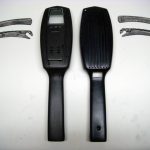
Thanks to my friend, Jim, over at Hyperdyne Labs, I was able to get the pin-out information for the servos. For anyone who may be using these servos, the pins are: Brown = ground Red = positive Orange = control I did some body work and trimmed all the excess fiberglass away from the two body halves and drilled…


Read more

More Electronics Work

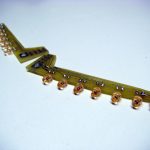
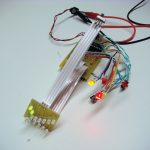
Here you can see the LEDs have been attached to the wings. I soldered them on and cleaned up the boards with some isopropyl alcohol to remove any residual flux from the solder. I was going to wire up the ribbon cables to attach the wings to the main circuit board, but I figured I should wait until I…


Read more

Dremel Gives You Wings!

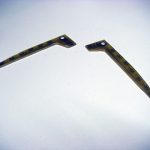
I figured I’d tackle the electronics portion first since they’ll need to be fitted into the kit. The electronics come up with a single printed wire board that can be separated into two boards used to connect the LEDs that will go in the wings of the PKE. Using a cutting wheel and my trusty Dremel, I separated the…


Read more

Electronics

The PKE meter wouldn’t be much without a good set of electronics. I picked these up from the resident expert in custom prop electronics, Hyperdyne Labs. These electronics are especially nice because they include a dual-mode display screen. Research has shown that there were multiple versions of the prop used as the PKE meter. These versions differed in that…


Read more

The PKE Meter Project

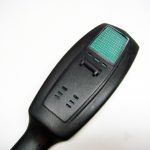
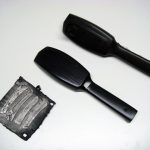
The goal of this project is to construct a replica of the PKE meter as seen in the Ghostbusters films. The original prop was built from an Iona shoe polisher. While these polishers are no longer made, you can usually find them online and in pretty good condition. However, a significant amount of modifications need to be done to…


Read more

Finishing Up

To finish up the kit, I had to add some details to the upper portion of the tricorder. First was the half-round acrylic rod included with the kit. Since the blue LED was protruding from the body, I had to make a small nitch in the back of the acrylic rod to accommodate the LED. After some work with…


Read more