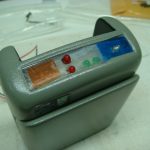
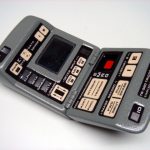
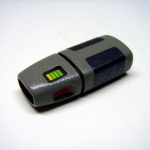
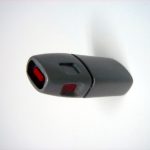
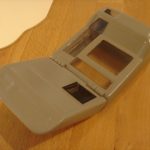
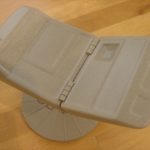
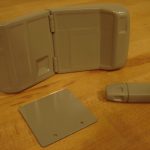
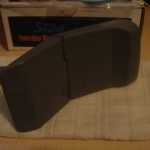
Finishing Up

To finish up the kit, I had to add some details to the upper portion of the tricorder. First was the half-round acrylic rod included with the kit. Since the blue LED was protruding from the body, I had to make a small nitch in the back of the acrylic rod to accommodate the LED. After some work with…

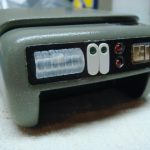
Read more

Installing the Electronics

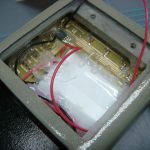
Next up was getting all the internal circuit boards aligned with the graphic windows and then glued down. I found the best way to do this was to align as many windows as I could, and then apply a few dabs of low-temperature hot glue to hold the boards in place. I then flipped the tricorder over and made…


Read more

Detailing the Top Array of Graphics

Well another long hiatus over. I’ve actually been working on this, just haven’t posted any updates, so here ya go! So next up was getting the electronics installed. I started with the top array, and carefully got the electronics in place. I found the electronics would not sit flush against the inside of the body, so I opted to…


Read more

Applying the Graphics

Next, I applied the graphics, minus the one that goes on the top array (more on that later). I used some Krylon spray adhesive to spray the back of the decals. After a few seconds of drying time, I applied the graphics using a pair of tweezers and my edged-stick. For the graphic that surround the display screen, I…


Read more

Finishing up the Scanner

Next up is a toss between installing the electronics or applying the decals. I opted for decals first since the masks I created when painting are positioned to line up with the graphics. It will be much easier to align the electronics to the graphics then it would be to install the electronics and then trying to get the…


Read more

Detailing the Scanner

Well after a long hiatus, I’m back at it again. My next step was to detail the small hand scanner. I was lucky enough to come across the owner of the kit used to create the instruction manual for this build (thanks, Mr. Munson!). From the photos I was able to recreate the detailing. I used dark gray and…


Read more

Clear Coat

After the black dried, I applied a high gloss clear coat. While most times I use the respective paint brand’s clear coat, I opted to use Dupli-color Automotive clear coat, since I’ve seen it gives a much higher shine than Krylon’s clear. After three good coats and ample drying time, I went in with my hobby knife, and trimmed…


Read more

Misting

After the paint dried it was time to apply a misting of silver to the tricorder and scanner. Misting is holding the paint source about two feet away from the subject and applying the paint in short passes. This gives a light coat of the secondary paint. The kit instructions call for Krylon Bright Silver (#1401), but I opted…


Read more

Basecoat

Well again, I managed to sneak some hobby time in amongst the million other things going on. I was able to get the basecoat done. Per the instruction manual, I used Krylon’s Stone Gray Gloss spraypaint (#1605). I was sure to give the tricorder and scanner three good coats on each surface (open, closed, and the back) to ensure…


Read more

Primer

Things have been pretty busy lately, so I haven’t had much time to work on my mark vi kit. However, we recently had some unseasonably warm weather in our area, and I was lucky enough to be able to sneak the primer coat on. Again, I went back to my Krylon primer and applied three medium-to-heavy coats. I went…


Read more