Viewscreen

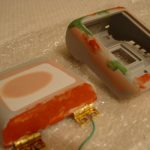
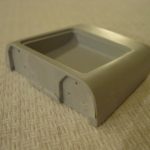
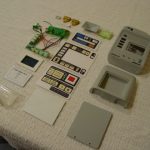
Today, I tackled the top portion of the viewscreen. The screen is composed of three main components; the viewscreen cover, the slide the serves as the viewscreen graphic, and the bucket that goes behind the slide. I took the provided piece that serves as the cover and trimmed it to the red lines on the template using a sharp…

Read more

Dry fitting the other components

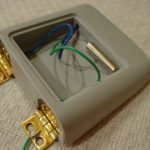
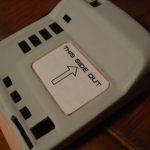
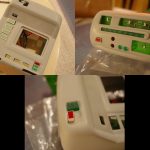
Next up, I dry-fitted the viewscreen’s backing piece to make sure it fit properly into the recess behind the viewscreen. Some minor amounts of excess resin were carefully removed with a sharp xacto blade. As the picture shows, the piece fit with no problems after some minor trimming. My next step was to test-fit the electronics to make sure…


Read more

Putty

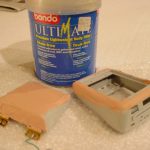
To finish up the primary body work, I filled any large gaps, holes, or seams with an automotive filler putty that the Bondo may have missed. To fill in the smaller, pin-size holes, I used Squadron’s Green putty. I let the putty dry overnight. The next day I proceeded to wetsand the main body components with 250 grit sandpaper….


Read more

Bondo

Once the epoxy was cured, I sanded the panel down with 220 grit sandpaper using a circular sanding motion. I also wiped off the excess styrene and resin with a wet sponge in between sandings. I was careful not to sand too tough as to remove the resin of the door itself. I got the styrene panel to be…


Read more

The Reed Switch

Next I installed the magnetic reed switch that will turn the electronics off and on. The switch is open (the tricorder is off) when the magnet is engaged, or adjacent to the switch. I picked up this one at Radio Shack, part #49-533. You can break the magnet out of its casing pretty easy, but be gentle with the…


Read more

The Lower Door and Top Array

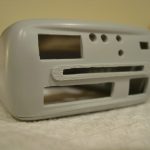
Next, I took the lower flip-out door and carefully drilled a 9/32″ diameter hole for the ID light, which will go in the lower left-hand portion of the door. I then test-fit the LED I will be using to ensure it fit properly. I also soldered two wires to each of the hinges, which will later supply the power…


Read more

Body Work

The first thing I’ll tackle is the lower flip-out door. The door will need holes drilled for the hinges, the magnet for the reed switch installed, as well as the ID LED installed, and a styrene panel fitted to cover the LED installation. I began by dry-fitting the hinges in the predesignated recessed areas. Some minor amounts of resin…


Read more