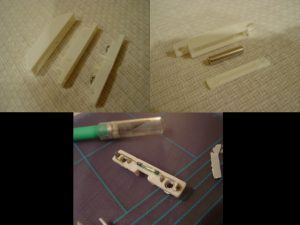
Next I installed the magnetic reed switch that will turn the electronics off and on. The switch is open (the tricorder is off) when the magnet is engaged, or adjacent to the switch. I picked up this one at Radio Shack, part #49-533. You can break the magnet out of its casing pretty easy, but be gentle with the section with the screws as that houses the switch and can break if you bend it. I removed it from the casing by carefully cutting around the edges with an xacto knife. You can then unsolder the switch from the terminals.
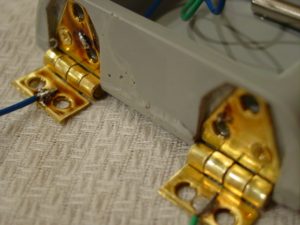
Next, I installed the red LED into the lower flip-out door for the ID light. I started by first attaching two wire leads to the LEDs and covering the bare leads with shrink tubing to prevent shorting. I fed these leads through one of the holes drilled for the hinges, and then soldered the leads to the hinges. Again, I soldered to the hinges with them unattached to the door to prevent the heat from damaging the resin.
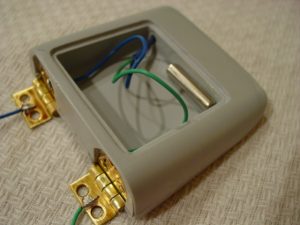
After the hinges had sufficient time to cool I attached them to the lower door using the accompanying screws. To insure a good bond with the resin, I first applied some 5-minute epoxy to the recesses for the hinges, then attached them. This way there are screws and epoxy holding the hinges in place.
Next, I tested the magnetic reed switch to make sure the placement of the magnet and switch will be close enough so that the switch functions properly. I did this by using a digital multimeter to measure the resistance of the switch. I placed the switch is the upper body portion of the tricorder and put the lower door against it to simulate the tricorder being closed. I then put the magnet into the cavity of the lower door and saw that the switch measured open indicating that with the magnet in this position, the tricorder would be off, which is what I wanted. I then used some 5-minute epoxy to secure the magnet in place where I know it will work. *Note: If you don’t have a multimeter, you can hear the switch latch when you put the magnet near it. You can use your ear to make sure the placement of the magnet is sufficient to open and close the switch.
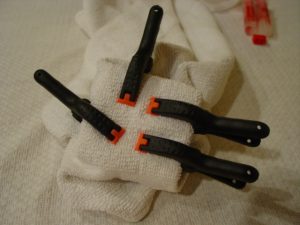
Since all the work in the cavity of the door is completed I decided it was time to button it up. I aligned the panel using the common corner I marked earlier. I then used some more 5-minute epoxy to secure the panel in place. I wrapped the door with a towel and used four small clamps to hold the panel down firmly. I then let it dry overnight.


