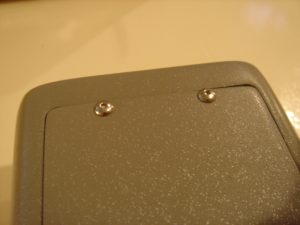
Now that I had the electronics and battery installed, the next step was to seal up the back panel. I had to do some slight arranging inside the main body to get the battery to fit completely inside, but it wasn’t too difficult. Following that , I just used the supplied screws to attach the door. I had to re-tap the holes to get the paint out of the screw holes, but after that, they went right in and lined up nicely with the previously attached nuts.
Next step was applying the graphics. Since all the graphics were precut in an earlier step, I just gave them each a quick test fit to make sure they fit in their position properly. All of them fit just fine, except the graphic for the top array. That’s because the LEDs that go underneath the small styrene greeblies were too large for the holes I had drilled in the styrene. It was an easy fix as I just used my hobby knife to drill out the holes until they were large enough to accommodate the LEDs. After that, each graphic got sprayed with photo-mount spray adhesive then applied. Almost done!

