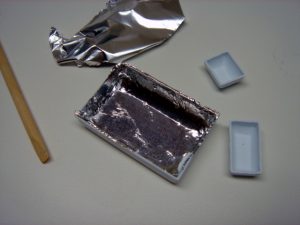
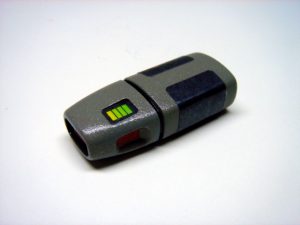
Next up is a toss between installing the electronics or applying the decals. I opted for decals first since the masks I created when painting are positioned to line up with the graphics. It will be much easier to align the electronics to the graphics then it would be to install the electronics and then trying to get the graphics to line up along with covering the bare spots. But in preparation for installing the electronics, I took the three supplied plastic dome-like pieces that are used to surround the electronics to reflect the light. I sprayed them each with some Krylon spray adhesive and attached some aluminum foil. This will help create a more reflective surface for the LEDs.
Using some 400 grit sandpaper, I then scuffed up the areas where the decals will later be applied. I was careful not to sand over any area where the electronics will be as the scratches will be visible. I then used a damp paper towel to wipe off any residual paint and then wiped the whole kit down to dry. I decided to apply the decals to the scanner first. I first gave each decal a quick test fit. I applied the decals using a pair of tweezers and my edged wooden stick. The LED and gray panel decals were easy to apply, but the pin-stripe inside the recess between the two halves took a little bit of fussing, but I got all the decals applied.


