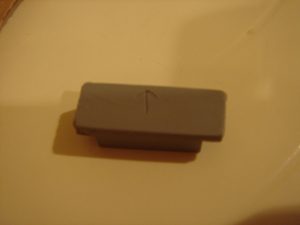
Next I used some 5-minute epoxy to secure the indicator piece in place. Note, that on the Rodd.com kits the indicator pieces are built to fit in one way. If you look on the underside of the piece, you will see a small arrow, as seen in the picture. This arrow should be facing toward the front of the phaser when installed.
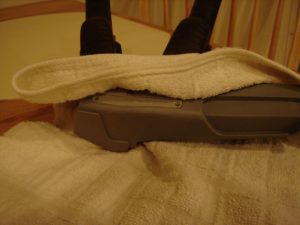
After that I wanted to get the bottom access panel attached. The piece comes with 4 screws that fit into brass fittings cast in the resin. This is a very nice feature since you don’t have to pre-drill or tap anything. However, since I’m doing the stunt version of this piece, I plan on blending the access panel into the rest of the body. When I test-fitted the panel, I noticed the screw heads protruded slightly above the surface of the phaser. I knew this would pose a problem later since you can’t easily sand down a metal screwhead. For that reason I decided just to epoxy the panel on. So I mixed up some more 5-minute epoxy, applied the epoxy, put the panel in place, wrapped the phaser in a towel to prevent scuffing, and used two clamps to hold the panel down tightly.


