Detailing the Undercarriage

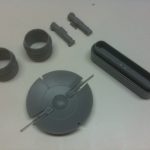
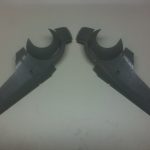
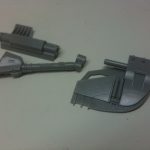
After being away from the workbench for awhile, I managed to get some work done on Slave I. Having completed the main fuselage and wing assemblies, it’s time to move onto detailing the undercarriage. As shown in the picture, I completed the subassemblies for the main engine, the two supporting engines, and some additional detailing pieces.  


Read more

Detailing the Fuselage

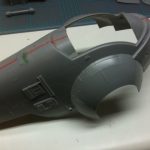
It’s hard to believe it’s been almost three months since I’ve been at my workbench, but such is life… Anyway, I managed to get back to Slave I today. After having puttied and sanded the main seam between the fuselage halves, I had to rescribe some panel lines. I did this using a Tamiya scriber and a flexible ruler…


Read more

Let the Sanding Begin!

Sanded Seam

Today I started sanding the seam of the fuselage. I started with some 215 grit paper and moved onto 400 before finishing up with some 600. I used the wet-sanding method to help prevent any additional scratches, and it seemed to work well. I won’t know for sure until I prime. Next, I’ll need to restore some of the…


Read more

The Fuselage Seam

Fuselage seam

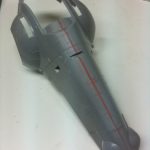
After a small hiatus, I’m back to Slave I. Today, I decide to join the two halves of the fuselage together. I first attempted to do so using the Tamiya Thin Cement, which I’ve been using throughout the build. However, the cement didn’t quite have the hold I needed it to. Nor did it provide me with enough time…


Read more

Starting the Fuselage

Fuselage Halves

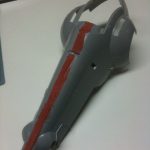
Today, I finished up the right wing subassemblies, which are basically a mirror image of the left side I completed earlier. Each wing has a rod that is to slide through the support strut into the third piece, which I’ll refer to as the wing mount. The wing is supposed to rotate freely through the support strut so that…


Read more

Assembling the Wing

wing subassemblies

Next up are the wings. Each wing is comprised of three subassemblies: what I’ll call the outer wing, the strut, and the inner wing. There are a handful of parts for each subassembly, so progress was a little slower today, but I managed to get one wing assembled. Following the advice of this article at Starship Modeler, I decided…


Read more

Assembling the Cockpit

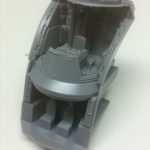
Following the instructions, the first assembly to put together is the cockpit. The assembly is composed of three subassemblies: the pilot’s console, the passenger seats below, and the surrounding bulkheads. The entire thing went together very quickly and easily. ‘Just snapped the parts off the sprue using my sprue cutters, filed down the excess material, and glued everything together…


Read more

Supplies!

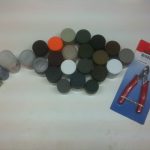
I paid a visit to my local hobby shop, Z&Z Hobbies, to pick up some supplies for the build. First and foremost, I needed paint! For the majority of props I’ve built, I tend to stick with automotive or household paints, but this model is going to require something better fit for small scale. Luckily, the incredibly detailed painting…


Read more