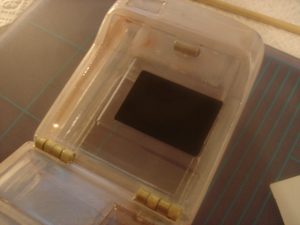
Due to some abnormal weather in my area, it was unseasonably warm, which allowed me to put a splash coat on the tricorder kit. Before I could do that I had to mask off the areas where the LEDs will shine through. Again, the advantage of using a clear body for this kit is because it alleviates having to drill out any holes for the electronics. All you need to due to mask off where the blinkies will go to prevent paint from blocking their view. First, I cut the provided mask for the main display screen from the graphics sheet. I then applied it to the outside of the tricorder body in the designated recess.
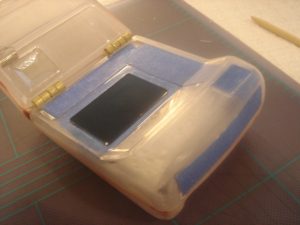
I then used some of Scotch’s blue masking tape to mask off where the additional electronics will go. For the LEDs that will be on the main face of the tricorder, I just created some simple masks to cover the general area. For the top circuit and the small recess above the main face, I used some tracing paper to create templates of the graphic decals, similar to what I did for marking the holes on the top section. I then used these templates to create masks that I applied to the kit. Also, be sure you mask the inside of the kit as well to prevent any overspray. As you can see in the picture, I stuffed a napkin inside the kit, which is a lot easier than masking off all areas.
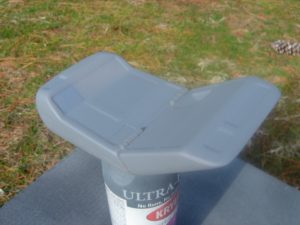
Once all the masking was done, I went outside and applied the splashcoat to both the tricorder and scanner. Again, the splashcoat is a light coat of primer that helps accentuate any blemishes that may have been missed during sanding. I used my trusty Krylon primer to apply the splashcoat. Afterwards, I inspected the kit, and applied some of Squadron’s green putty to fill any imperfections I found.


