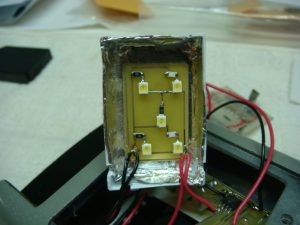
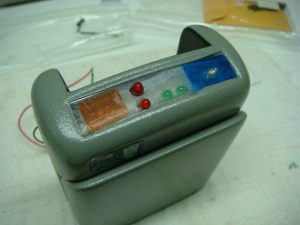
Well another long hiatus over. I’ve actually been working on this, just haven’t posted any updates, so here ya go! So next up was getting the electronics installed. I started with the top array, and carefully got the electronics in place. I found the electronics would not sit flush against the inside of the body, so I opted to drill holes in the top if the tricorder to allow the LEDs to poke through. I then went back in and pushed the LEDs into place, and while I held them steady with a pair of tweezers, I applied some low temperature hot glue to secure them. I then attached the “On” indicator LED by affixing the LEDs to the inside of the tricorder using a spot of super glue. I then went around the LEDs with a bead of hot glue for added support. Next, I attached the display screen LEDs to the dome piece I foiled in an earlier step. Again, I used some glue to attach the board to the dome. I also used a file to make some recesses in the dome for the wires.
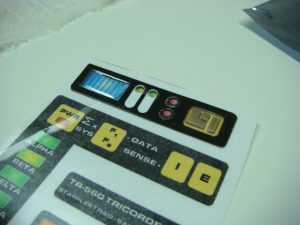
Next up was detailing the top array graphics. I used the original set of graphics as a template on where to place the gold leaf detailing. I also did a rough alignment on the tricorder and found I needed to remove some material from around the red LEDs, so I used a sharp hobby knife to scrape away some of the decal’s material.
Lastly, I applied the blue and orange gel sheets that were included in my graphics upgrade to the top of the tricorder. Again, I used a set of tweezers and an edged-stick. Next up, I’ll be applying the top array graphics and securing the last bit of electronics. Almost done…


