Next up was getting all the internal circuit boards aligned with the graphic windows and then glued down. I found the best way to do this was to align as many windows as I could, and then apply a few dabs of low-temperature hot glue to hold the boards in place. I then flipped the tricorder over and made minor adjustments to ensure the LEDs were lined up as best as they could be. Once I was happy with their placement, I applied some additional glue to secure everything in place. I also took this opportunity to glue down the magnetic reed switch. I did this by closing the lower door and placing the reed in a place that would shut the electronics off. Once I found a good spot, I went ahead and glued down the switch. As you can see, the interior is pretty tight.
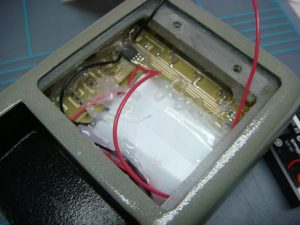
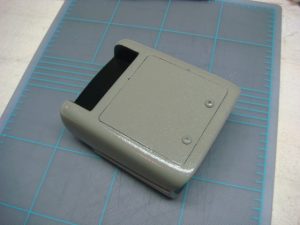
My next challenge was getting the battery and battery holder installed. After trying several different ways of situating the battery holder, it became apparent that there was no way I was going to get the battery holder and battery in the cavity and get the back door to sit flush. I ended up removing two of the terminals from the battery holder and soldering the wires directly to them. I then held the applicable terminal against the appropriate battery terminal, and secured them in place with some simple masking tape. It wasn’t pretty, but it got the job done. Carefully, I situated the battery in the back cavity and then attached the back door, which is held in place by two screws. All I have left is some detailing on the upper portion, but I’ll save that for next time…


